While many people are more than happy to snap-build their kits, put on some stickers, and call it a day, there are many others that want to take their Gundam model kits to the next level and make them look as good as possible. Both approaches are perfectly valid, but if you’re in the second group of people I’m here to give you a couple tips to bring out the details in your models.
Panel Lining
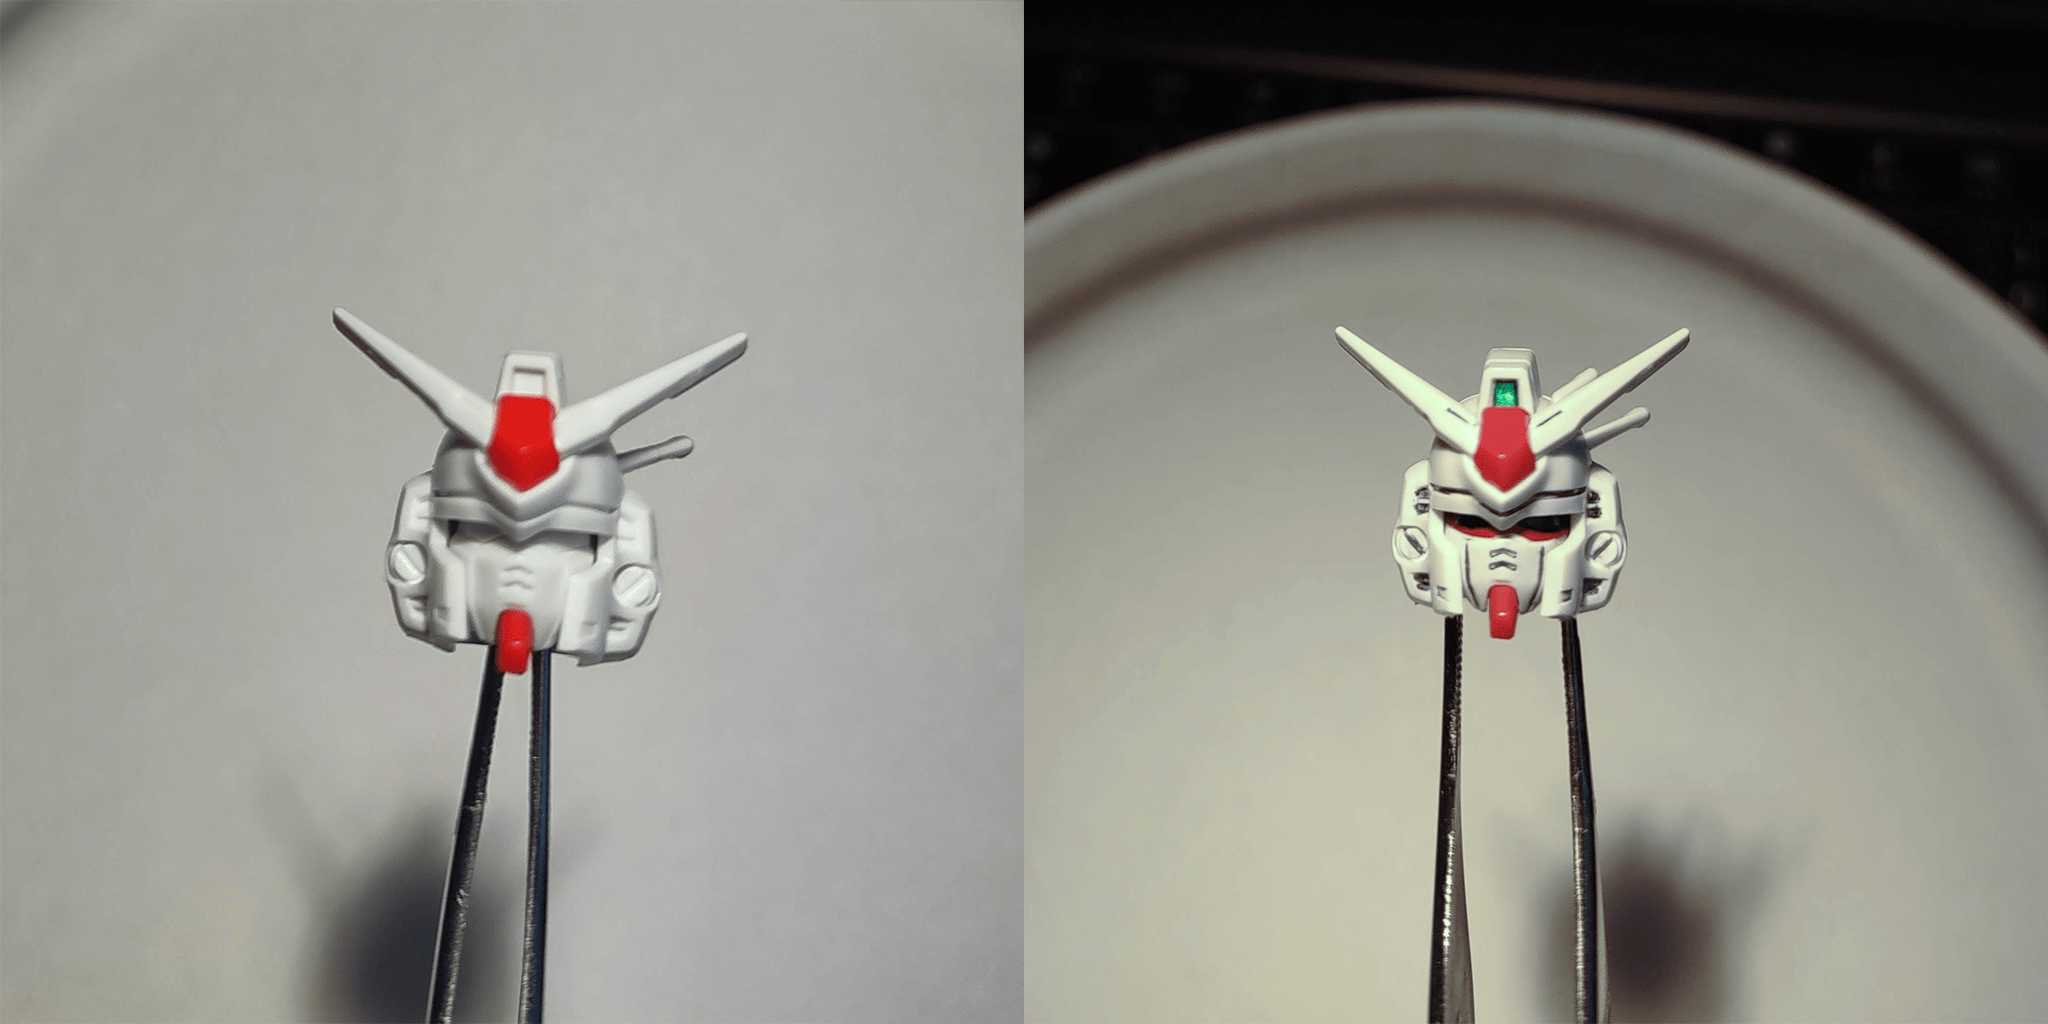
If there’s one extra step you can take to make your models look better, it’s panel lining. Panel lining is putting ink into the small grooves and channels around the kit, giving them better contrast against the surrounding plastic and making them stand out. Normally black or gray ink is used, but some recommend using brown ink on red and yellow plastic. I personally use black ink for all my panel lining, so it depends on the kind of look you’re going for. There best panel lining option for beginners are panel lining markers. The markers can have either a fine point or a brush tip. Both will work fine and give you a similar end result, but I prefer the precision of the fine tip.
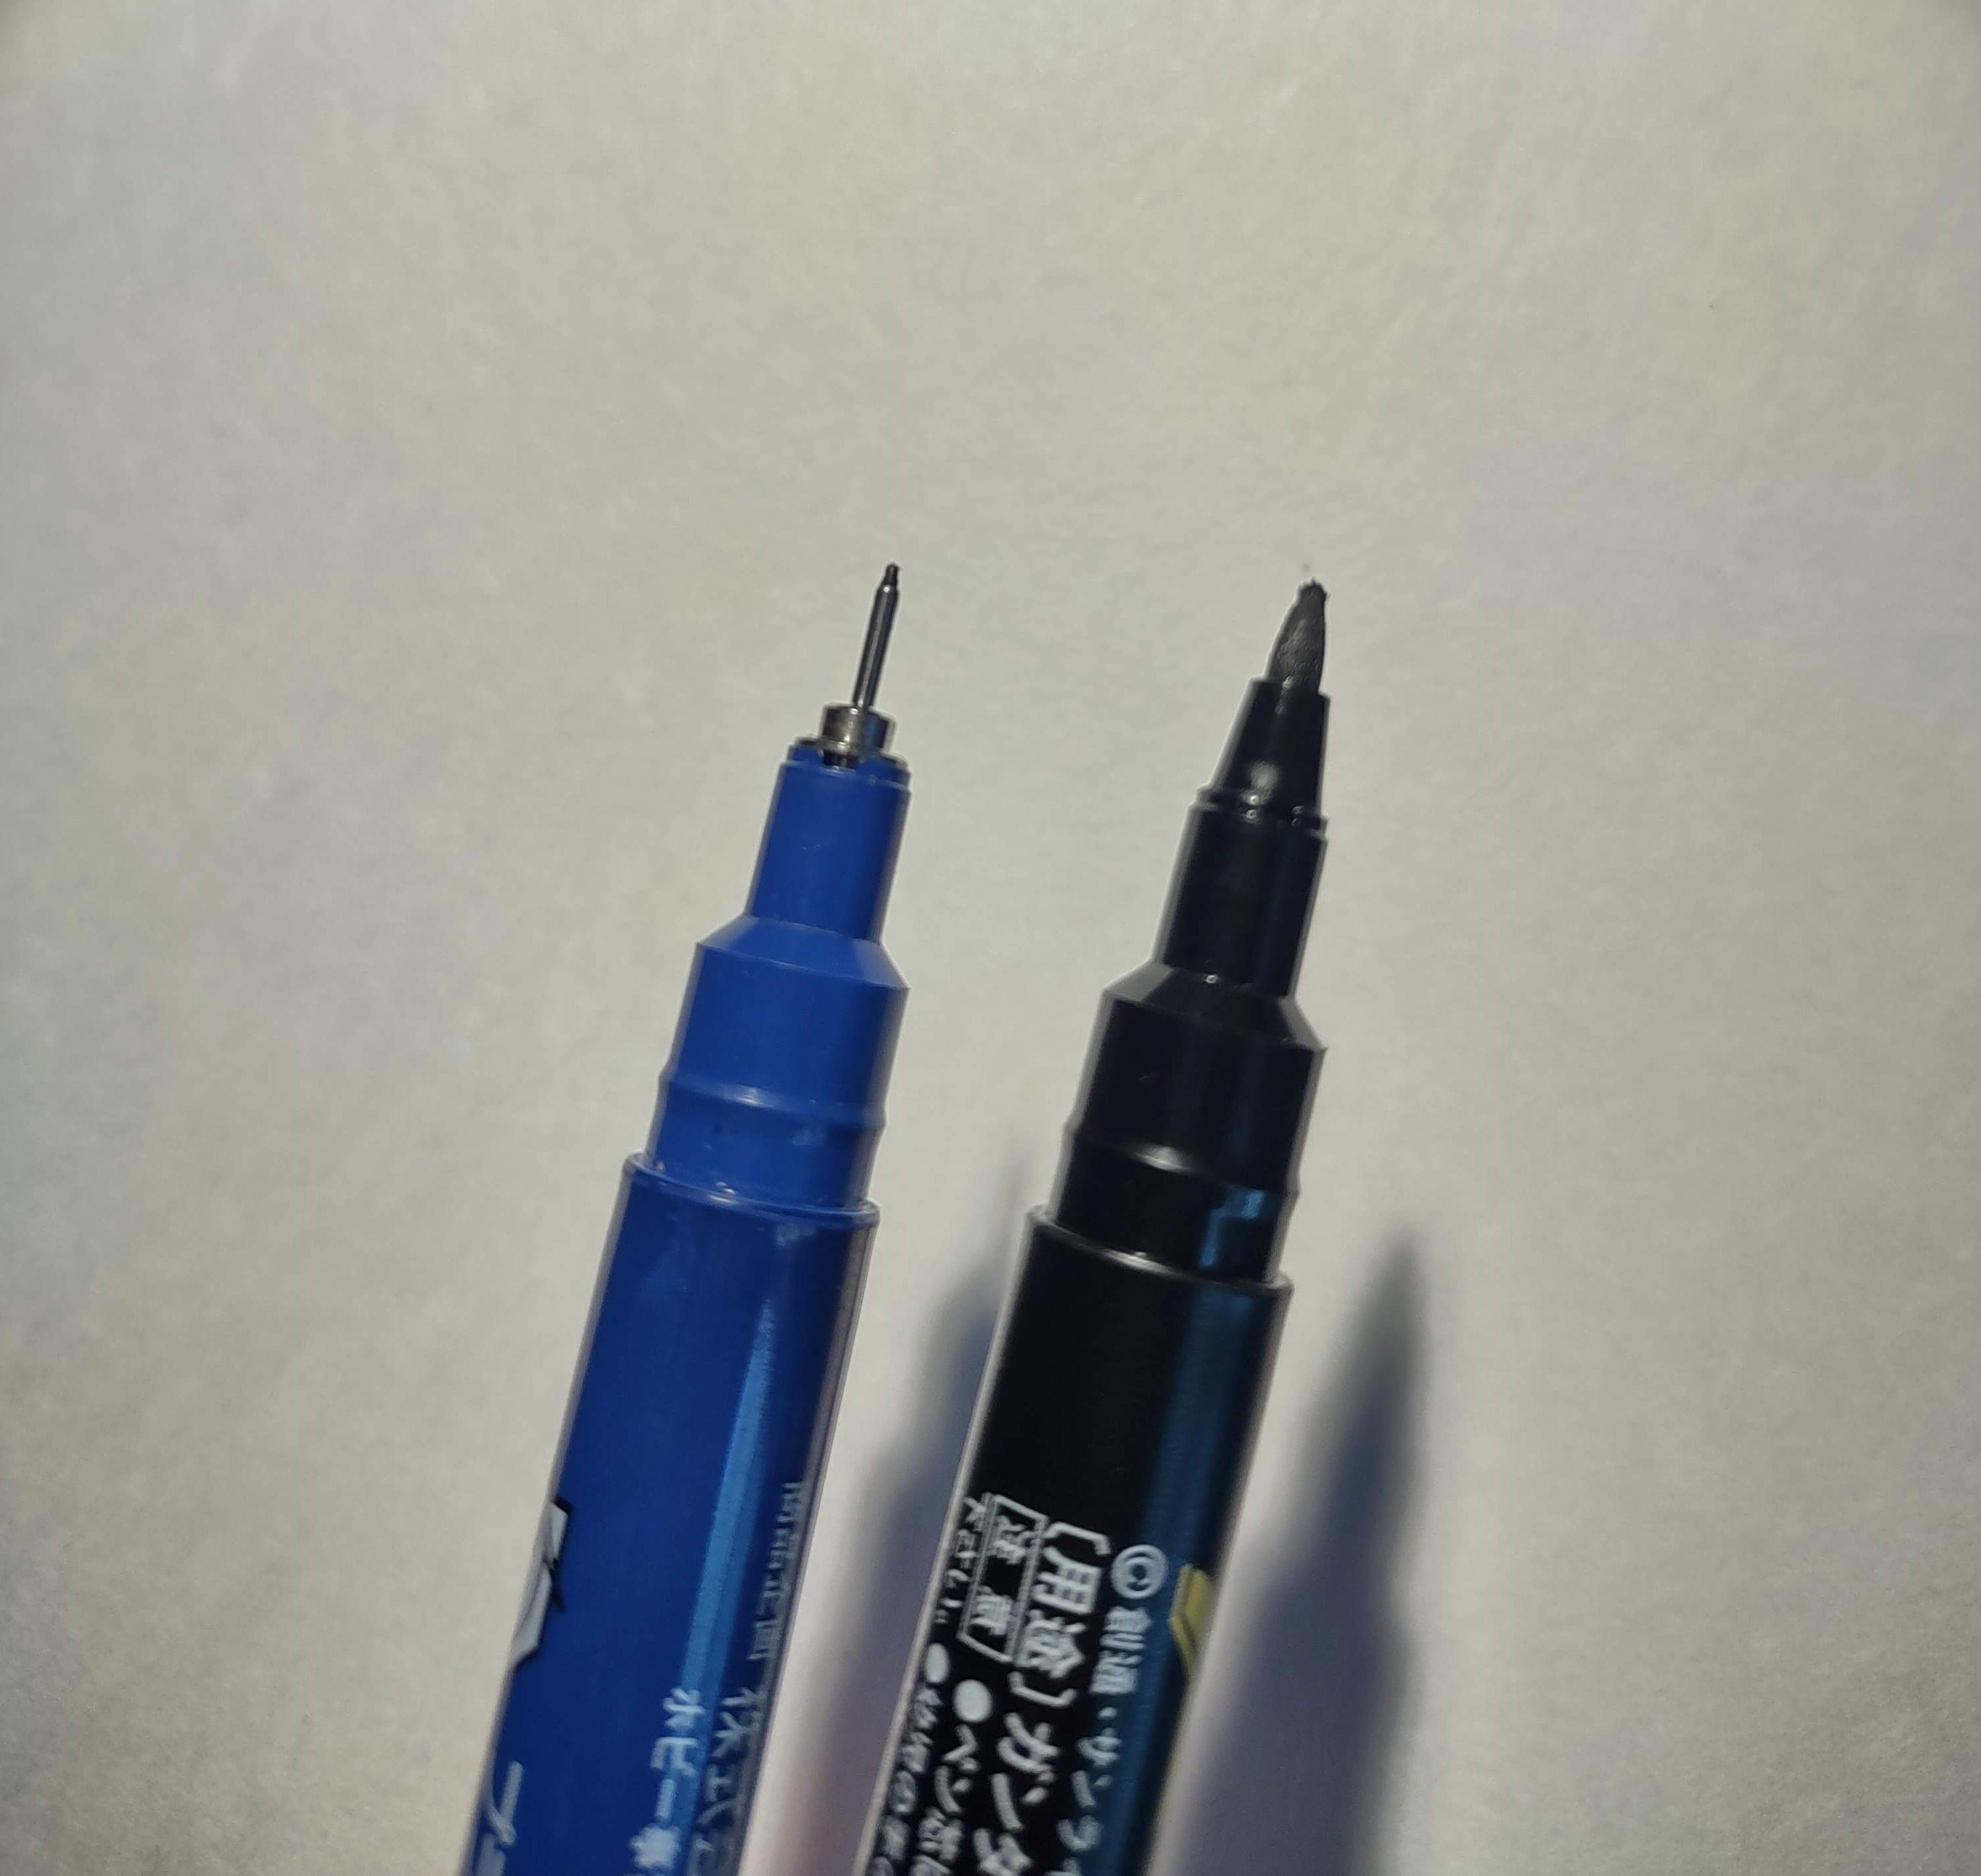
To panel line, run the marker through the channel you want to line, then use a q-tip or your finger to rub away the excess ink. If you’re using a black marker, you can also use it to color in some small details like vents. Once you’re done it’ll be a lot easier to see the details around the kit and give it some extra depth.
Seam Line Removal
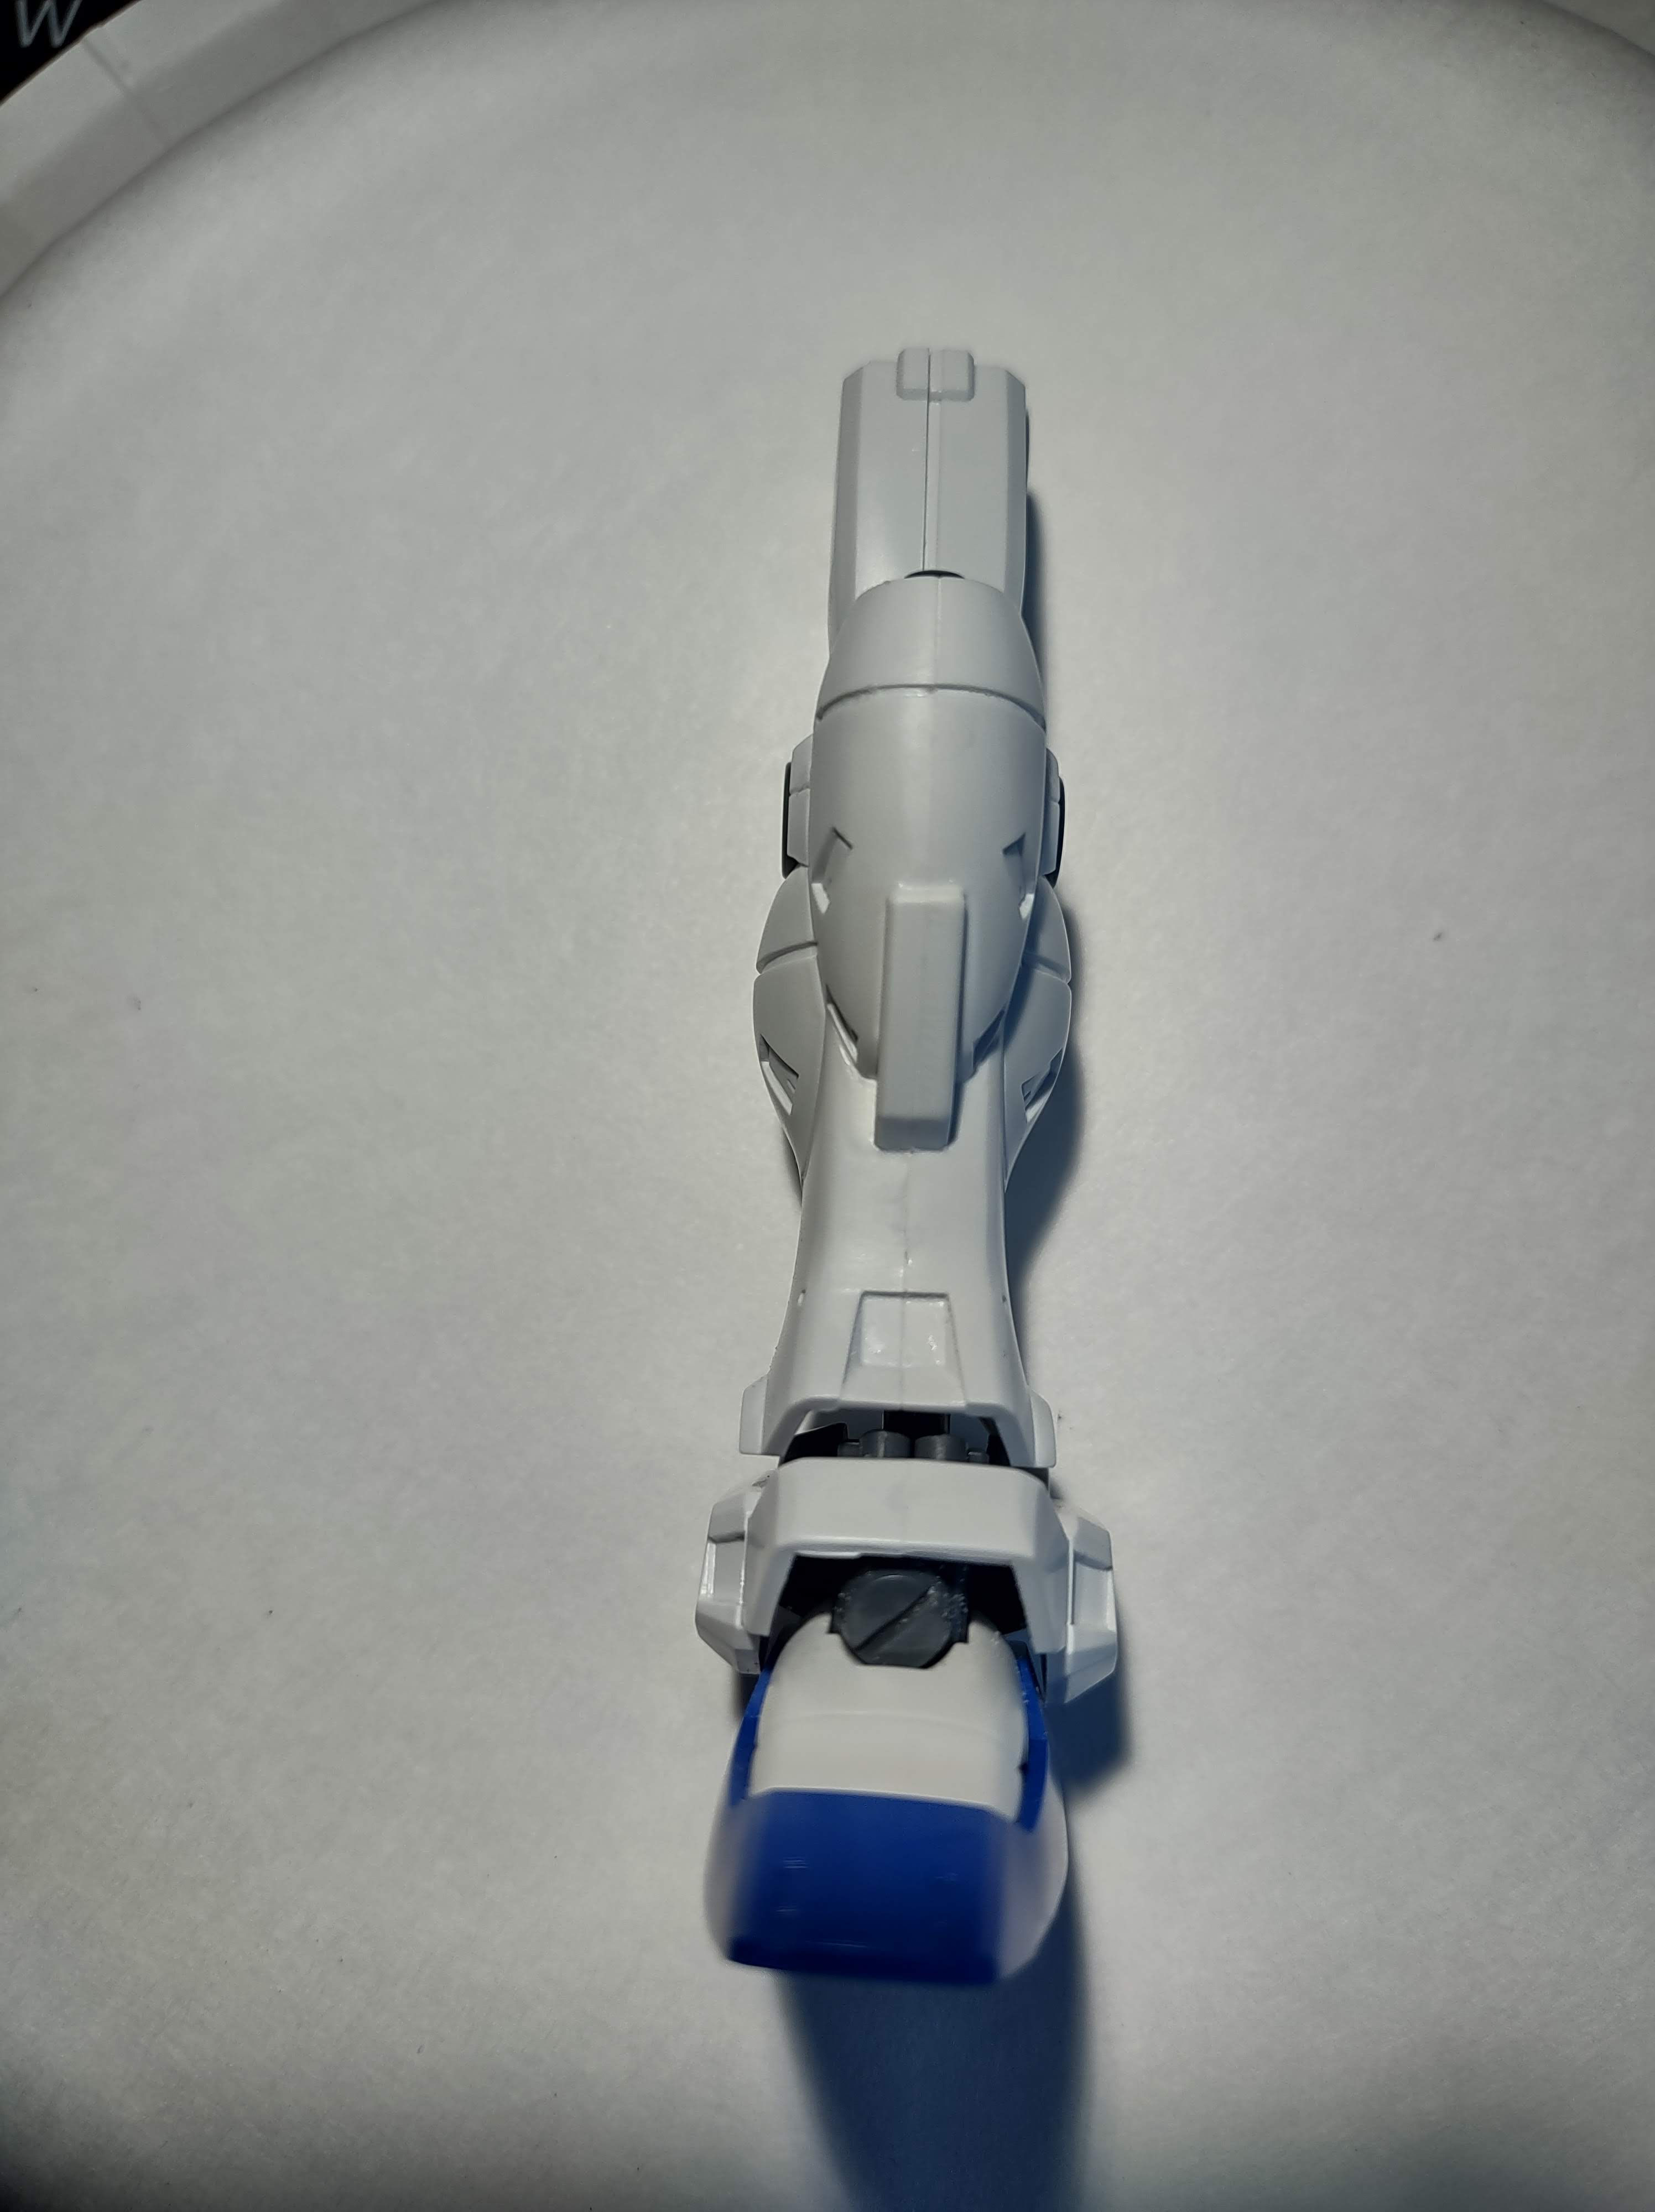
Depending on how a kit is engineered, there can be unsightly seam lines where two parts are put together but don’t sit flush with each other. Seam lines are most commonly found on the shoulders and lower legs, but they can appear in a lot of different places. The two main tools to fix this are plastic cement and some sort of sanding tool.
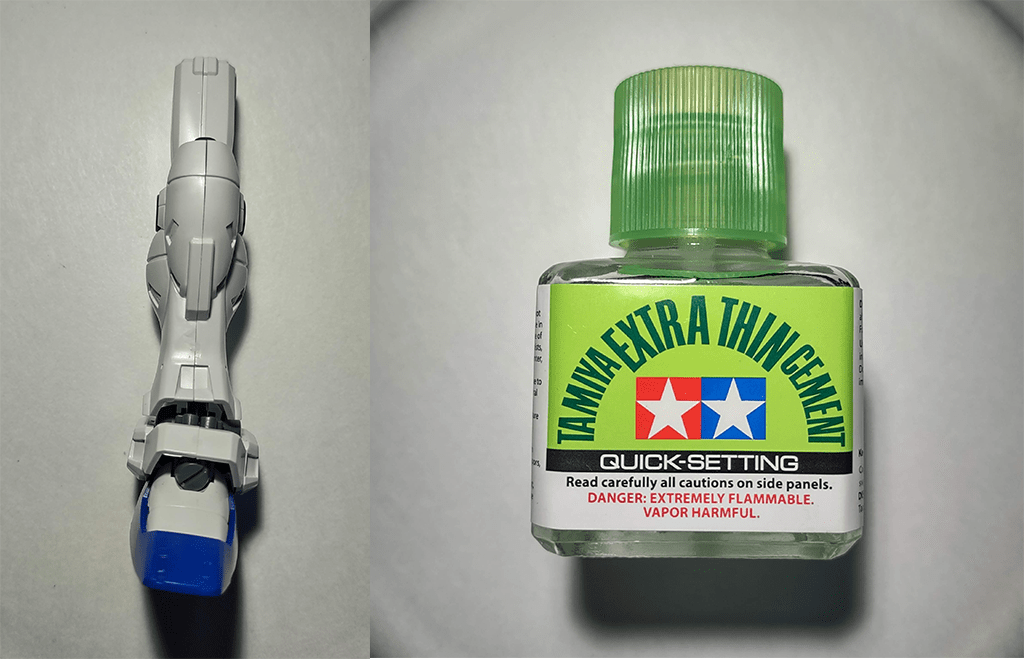
Plastic cement glues two pieces of plastic together by melting the plastic surfaces, then allowing those pieces to fuse into one. This makes it very useful for seam line removal where you want two joined parts to look like one solid part. First, put plastic cement on the two surfaces you want to join. If you’re using a thin cement like I am, it will evaporate more quickly so you have to move a bit faster. Once the part surfaces have cement on them, press them together with a good amount of pressure (not enough to break anything, of course). This pressure can cause the slightly dissolved plastic to bubble out of the seam line, which is a good sign it’s working. If you aren’t using a thin cement then it may take some time to completely cure, so you can use clamps to keep the pieces in place while you wait. Once the plastic cement has evaporated and the plastic is dry, you can use your sanding tools to remove any excess plastic around the seam line. If all goes well, those two pieces of plastic will look like one solid part.
Painting
One of the things that really unlocks the potential of plastic models is paint. You can paint just a couple details on a kit or completely change its color scheme, with your only limits being your imagination and ability to put that imagination into action. Hand painting is something that I’m only recently getting into, so there isn’t much advice I can offer about it. If you’re at a point where you want to start hand painting, then it’s worth doing your own research to find what will work best for you. For beginners though, Gundam Markers allow you to color in some details without too much extra effort.
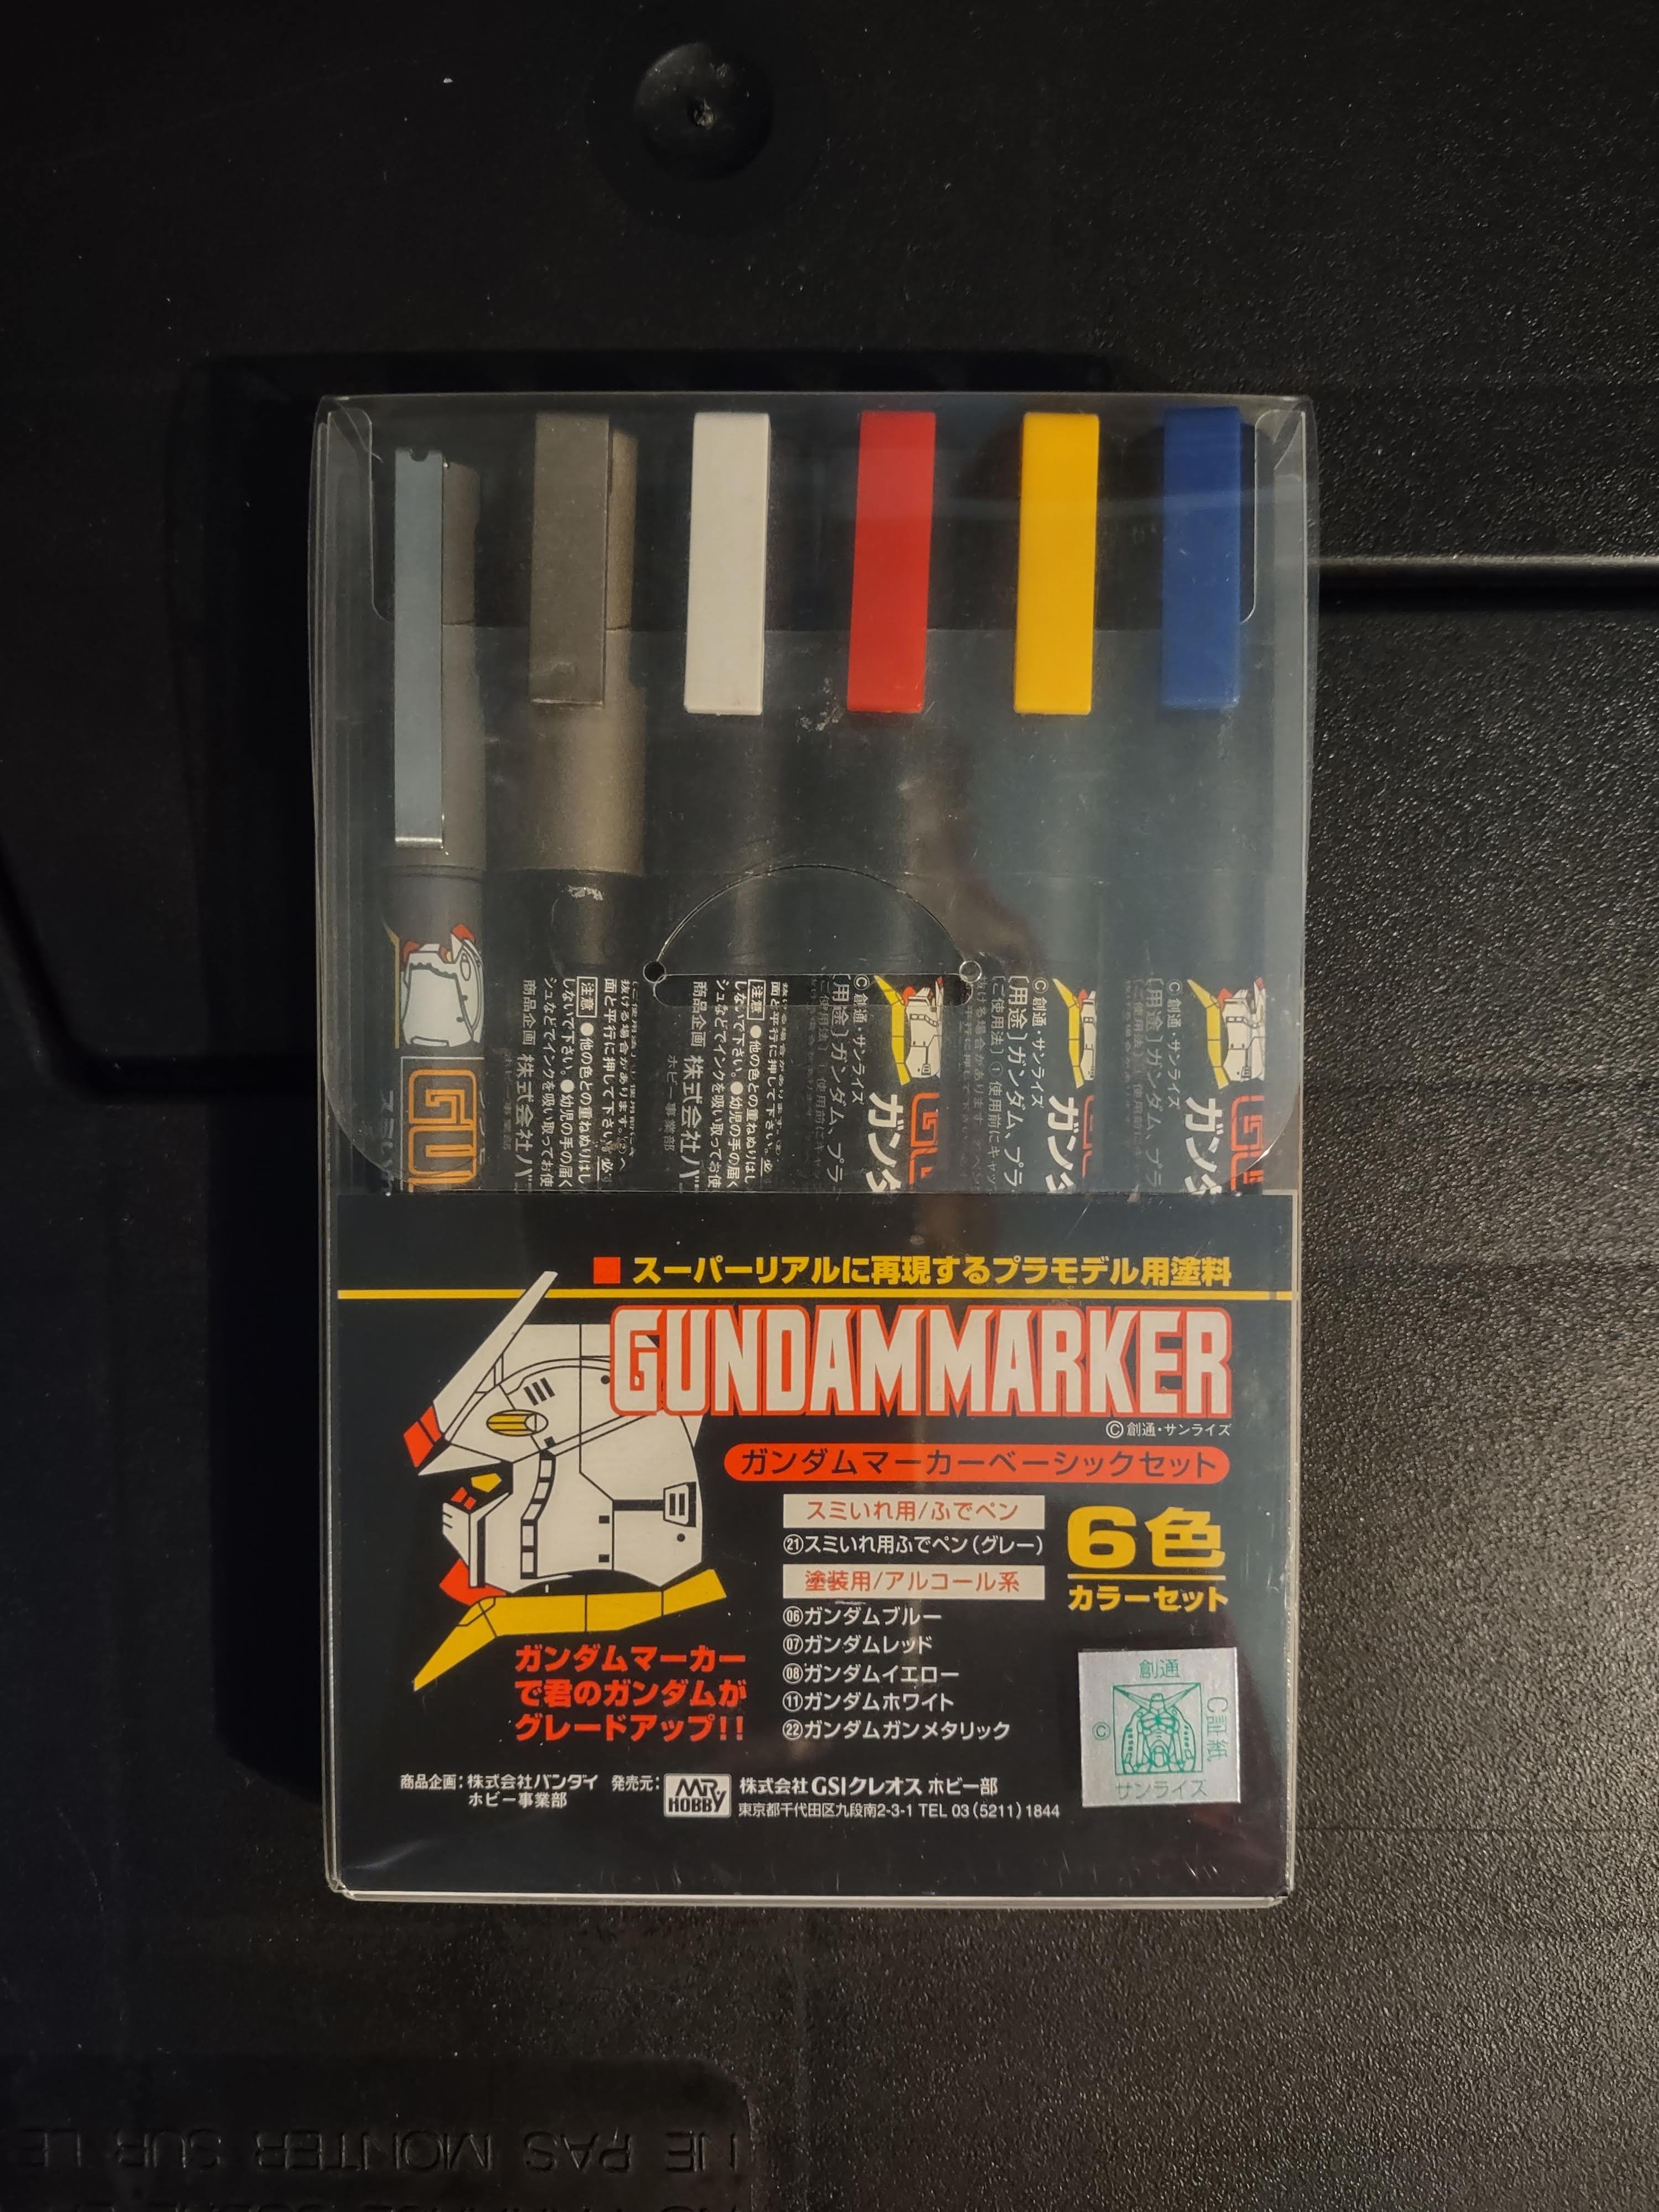
Gundam Markers come in packs with different color schemes tailored to different lines of models or finishes. The markers contain paint mixed with thinner, so it comes out the tip ready to go. You can use them to fill in small details very easily, and also recolor larger areas if you apply multiple coats evenly. If you end up with paint where you don’t want it, you can use a toothpick to scrape away the paint without damaging the plastic. Put all these steps together with some patience and effort, and you can take your model kits to the next level.