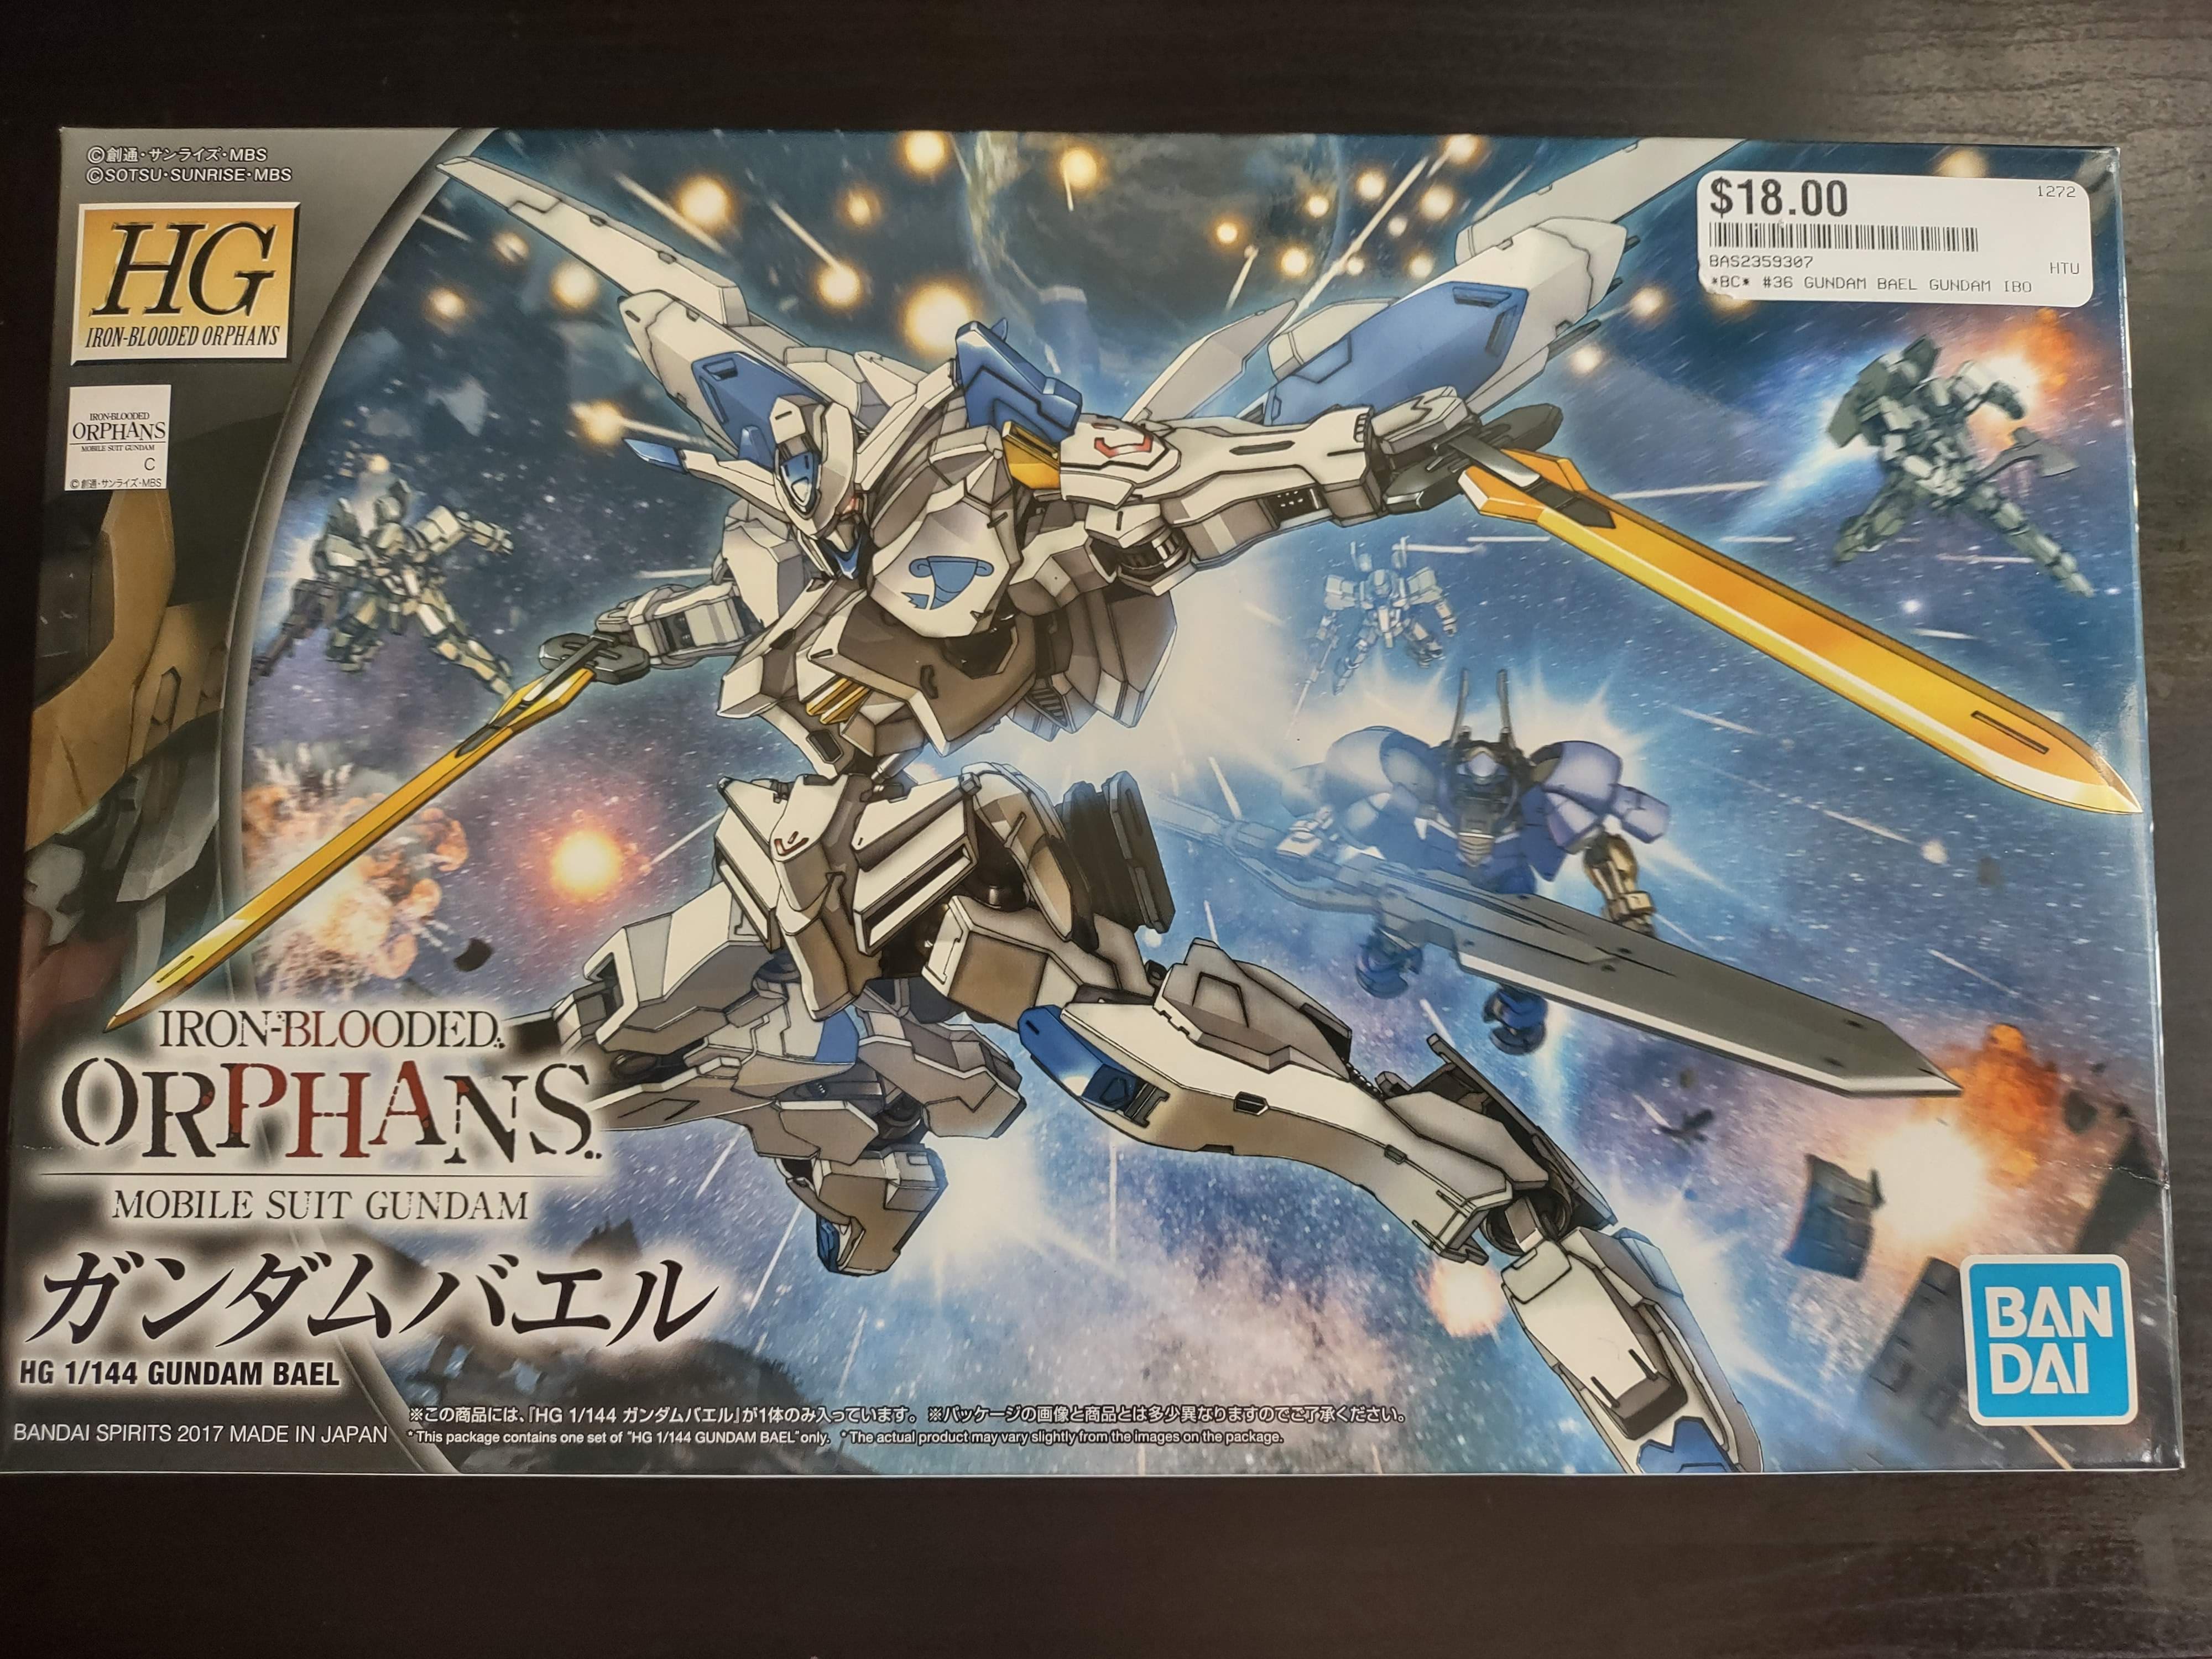
Plastic modeling can seem complicated at first, and if you’re interested in getting into Gundam plastic models (Gunpla for short) but don’t know where to start, the best place to start is building your first model. There are several lines of models to choose from and many kits in each line, but beginners should look for kits in the HG and SD lines. High Grade (HG) models are the basic level of Gunpla in terms of size, price, and detail. Super Deformed (SD) models are made to be less realistic and are molded in a cartoonish chibi style with big heads and eyes, and small squashed bodies. They also tend to be quite inexpensive as their construction is much simpler and uses less plastic. With so many options it can be difficult to choose one, I still sometimes experience choice paralysis when deciding which kit to buy so my advice is this: pick something that looks cool to you. For this tutorial I’ll be demonstrating with an HG Gundam Bael.
Tools
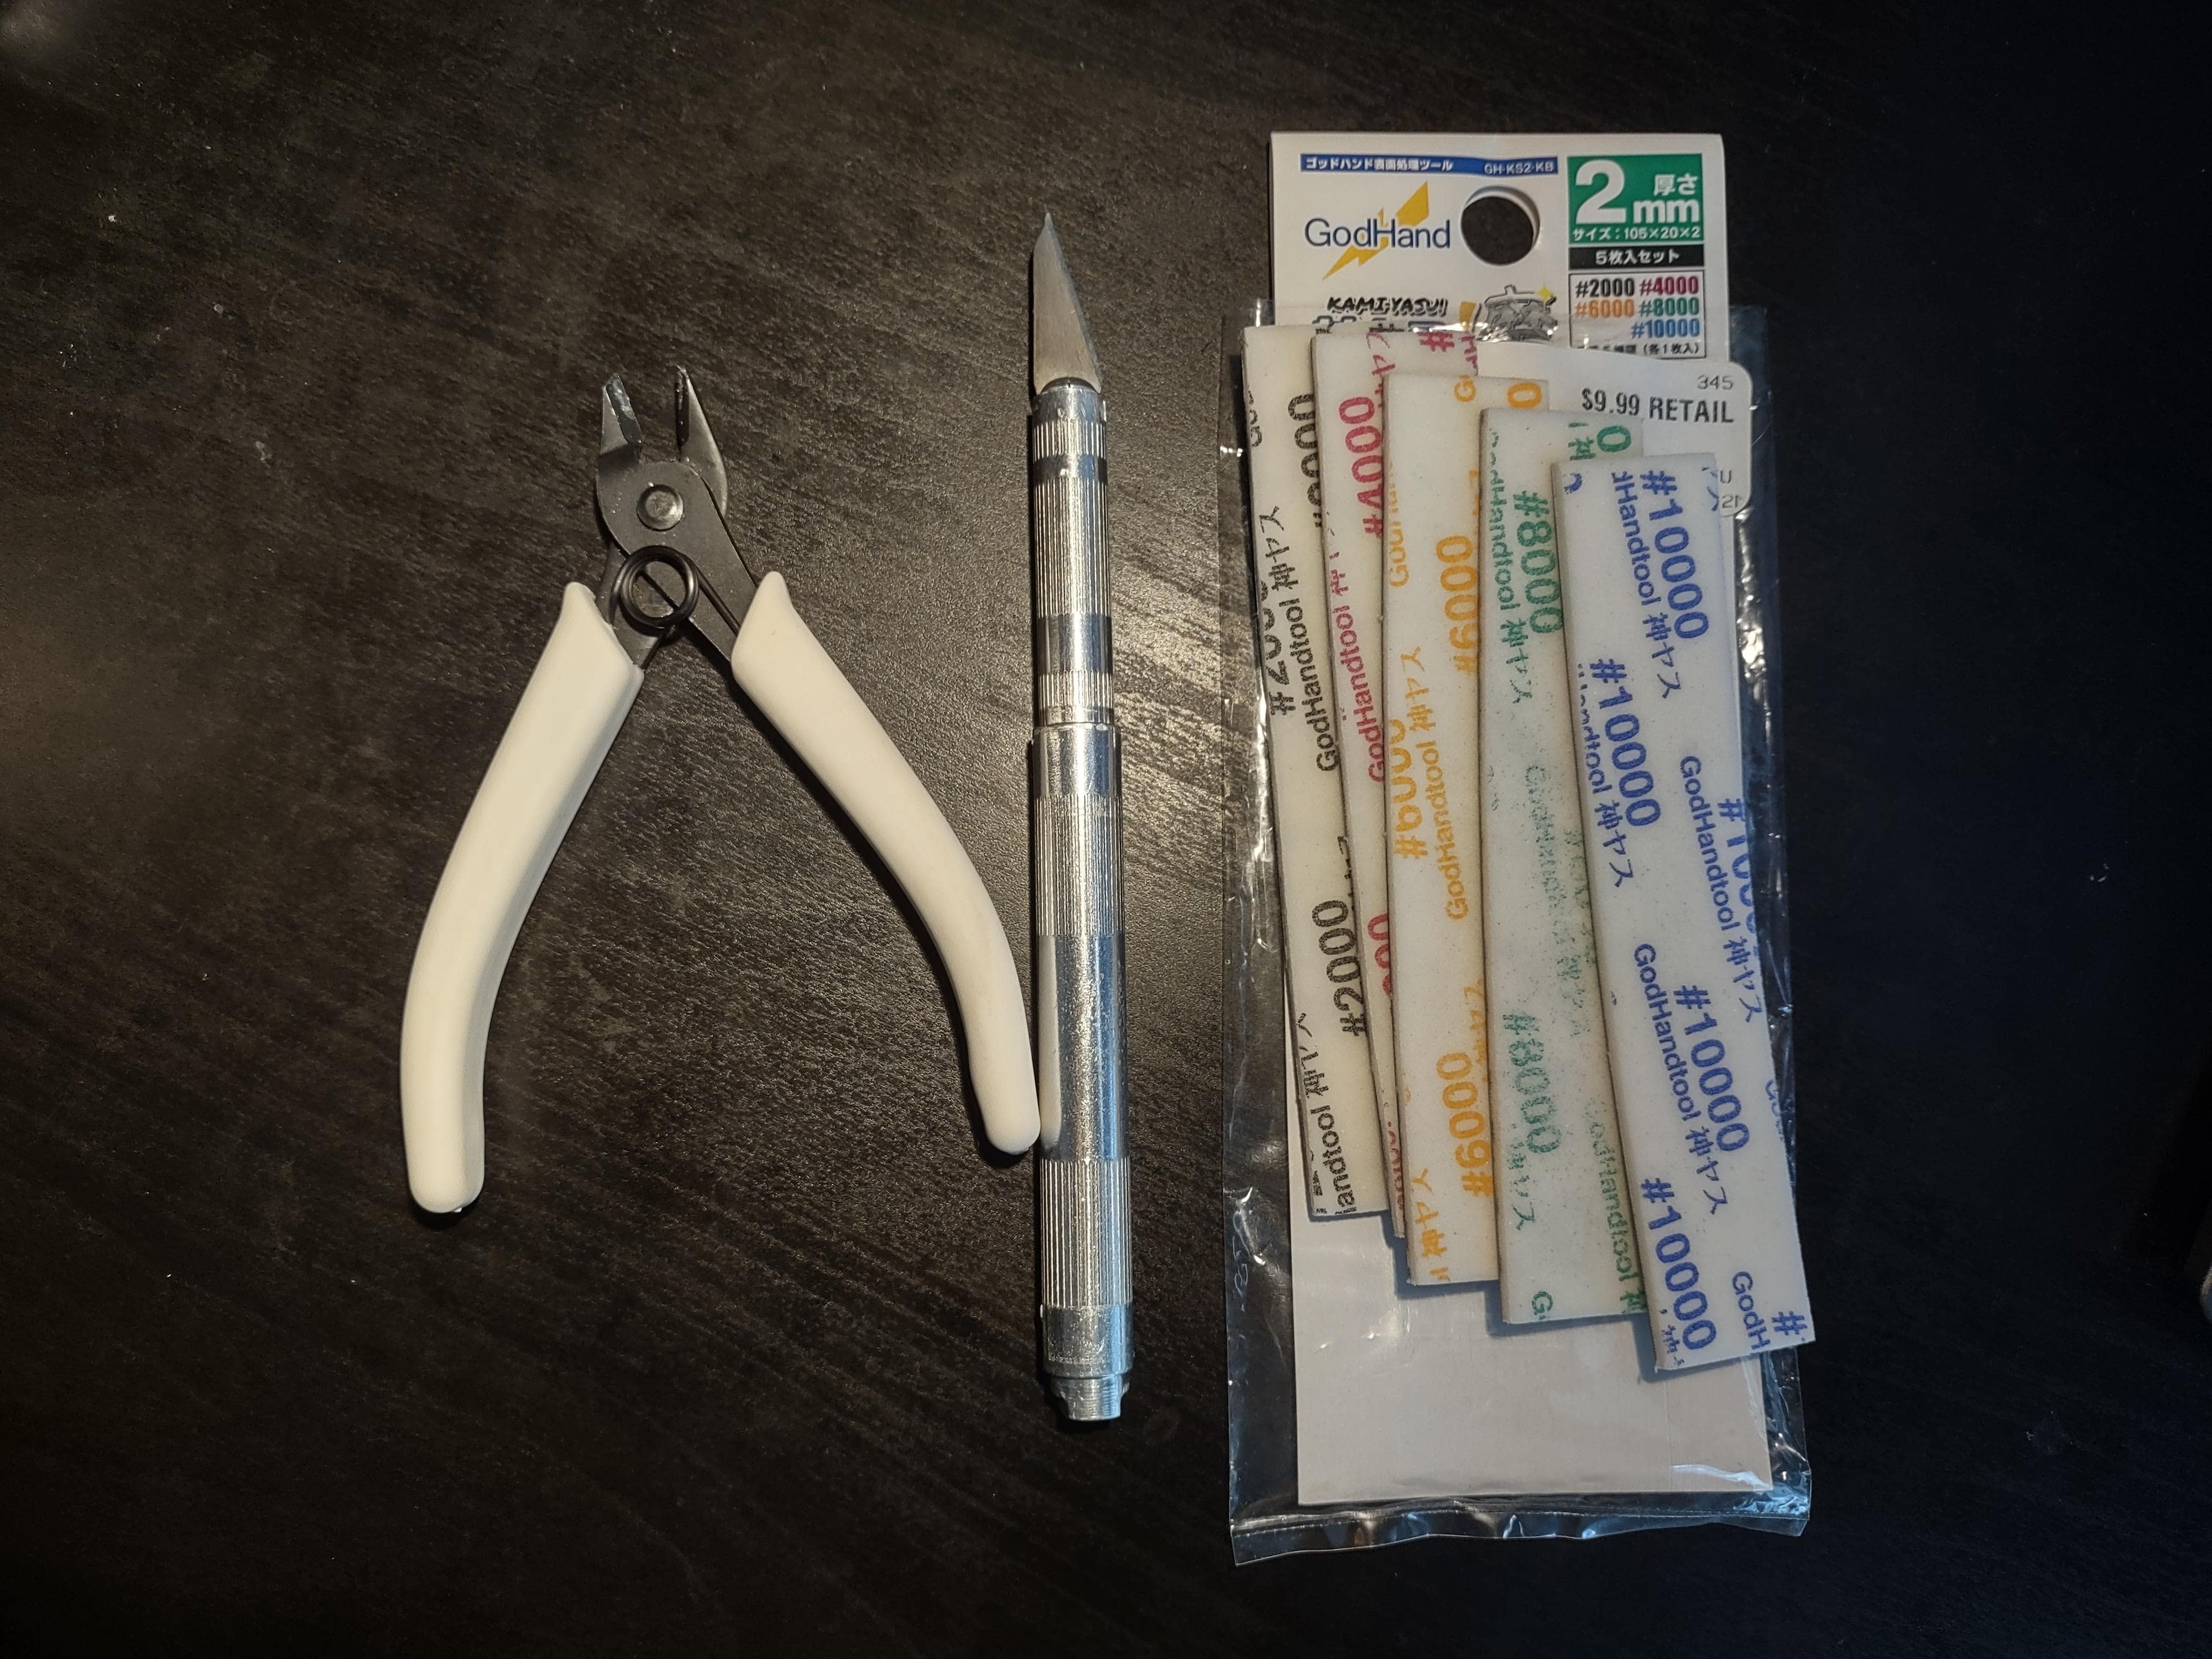
Once you have a kit, you’ll need a couple tools to build it. Here’s a quick rundown of the basic tools you’ll need for plastic modeling.
- Nippers – Used to cut the parts off the runner; something you absolutely cannot go without.
- Hobby Knife – Versatile tool, most often used for cleaning up parts but is also helpful in customization.
- Sanding tools – Many sanding tools will work for Gunpla, basic files and sandpaper work just fine, but I normally use sanding sponges. You’ll want some sanding tools with a range of low to high grits.
Cutting Parts Out
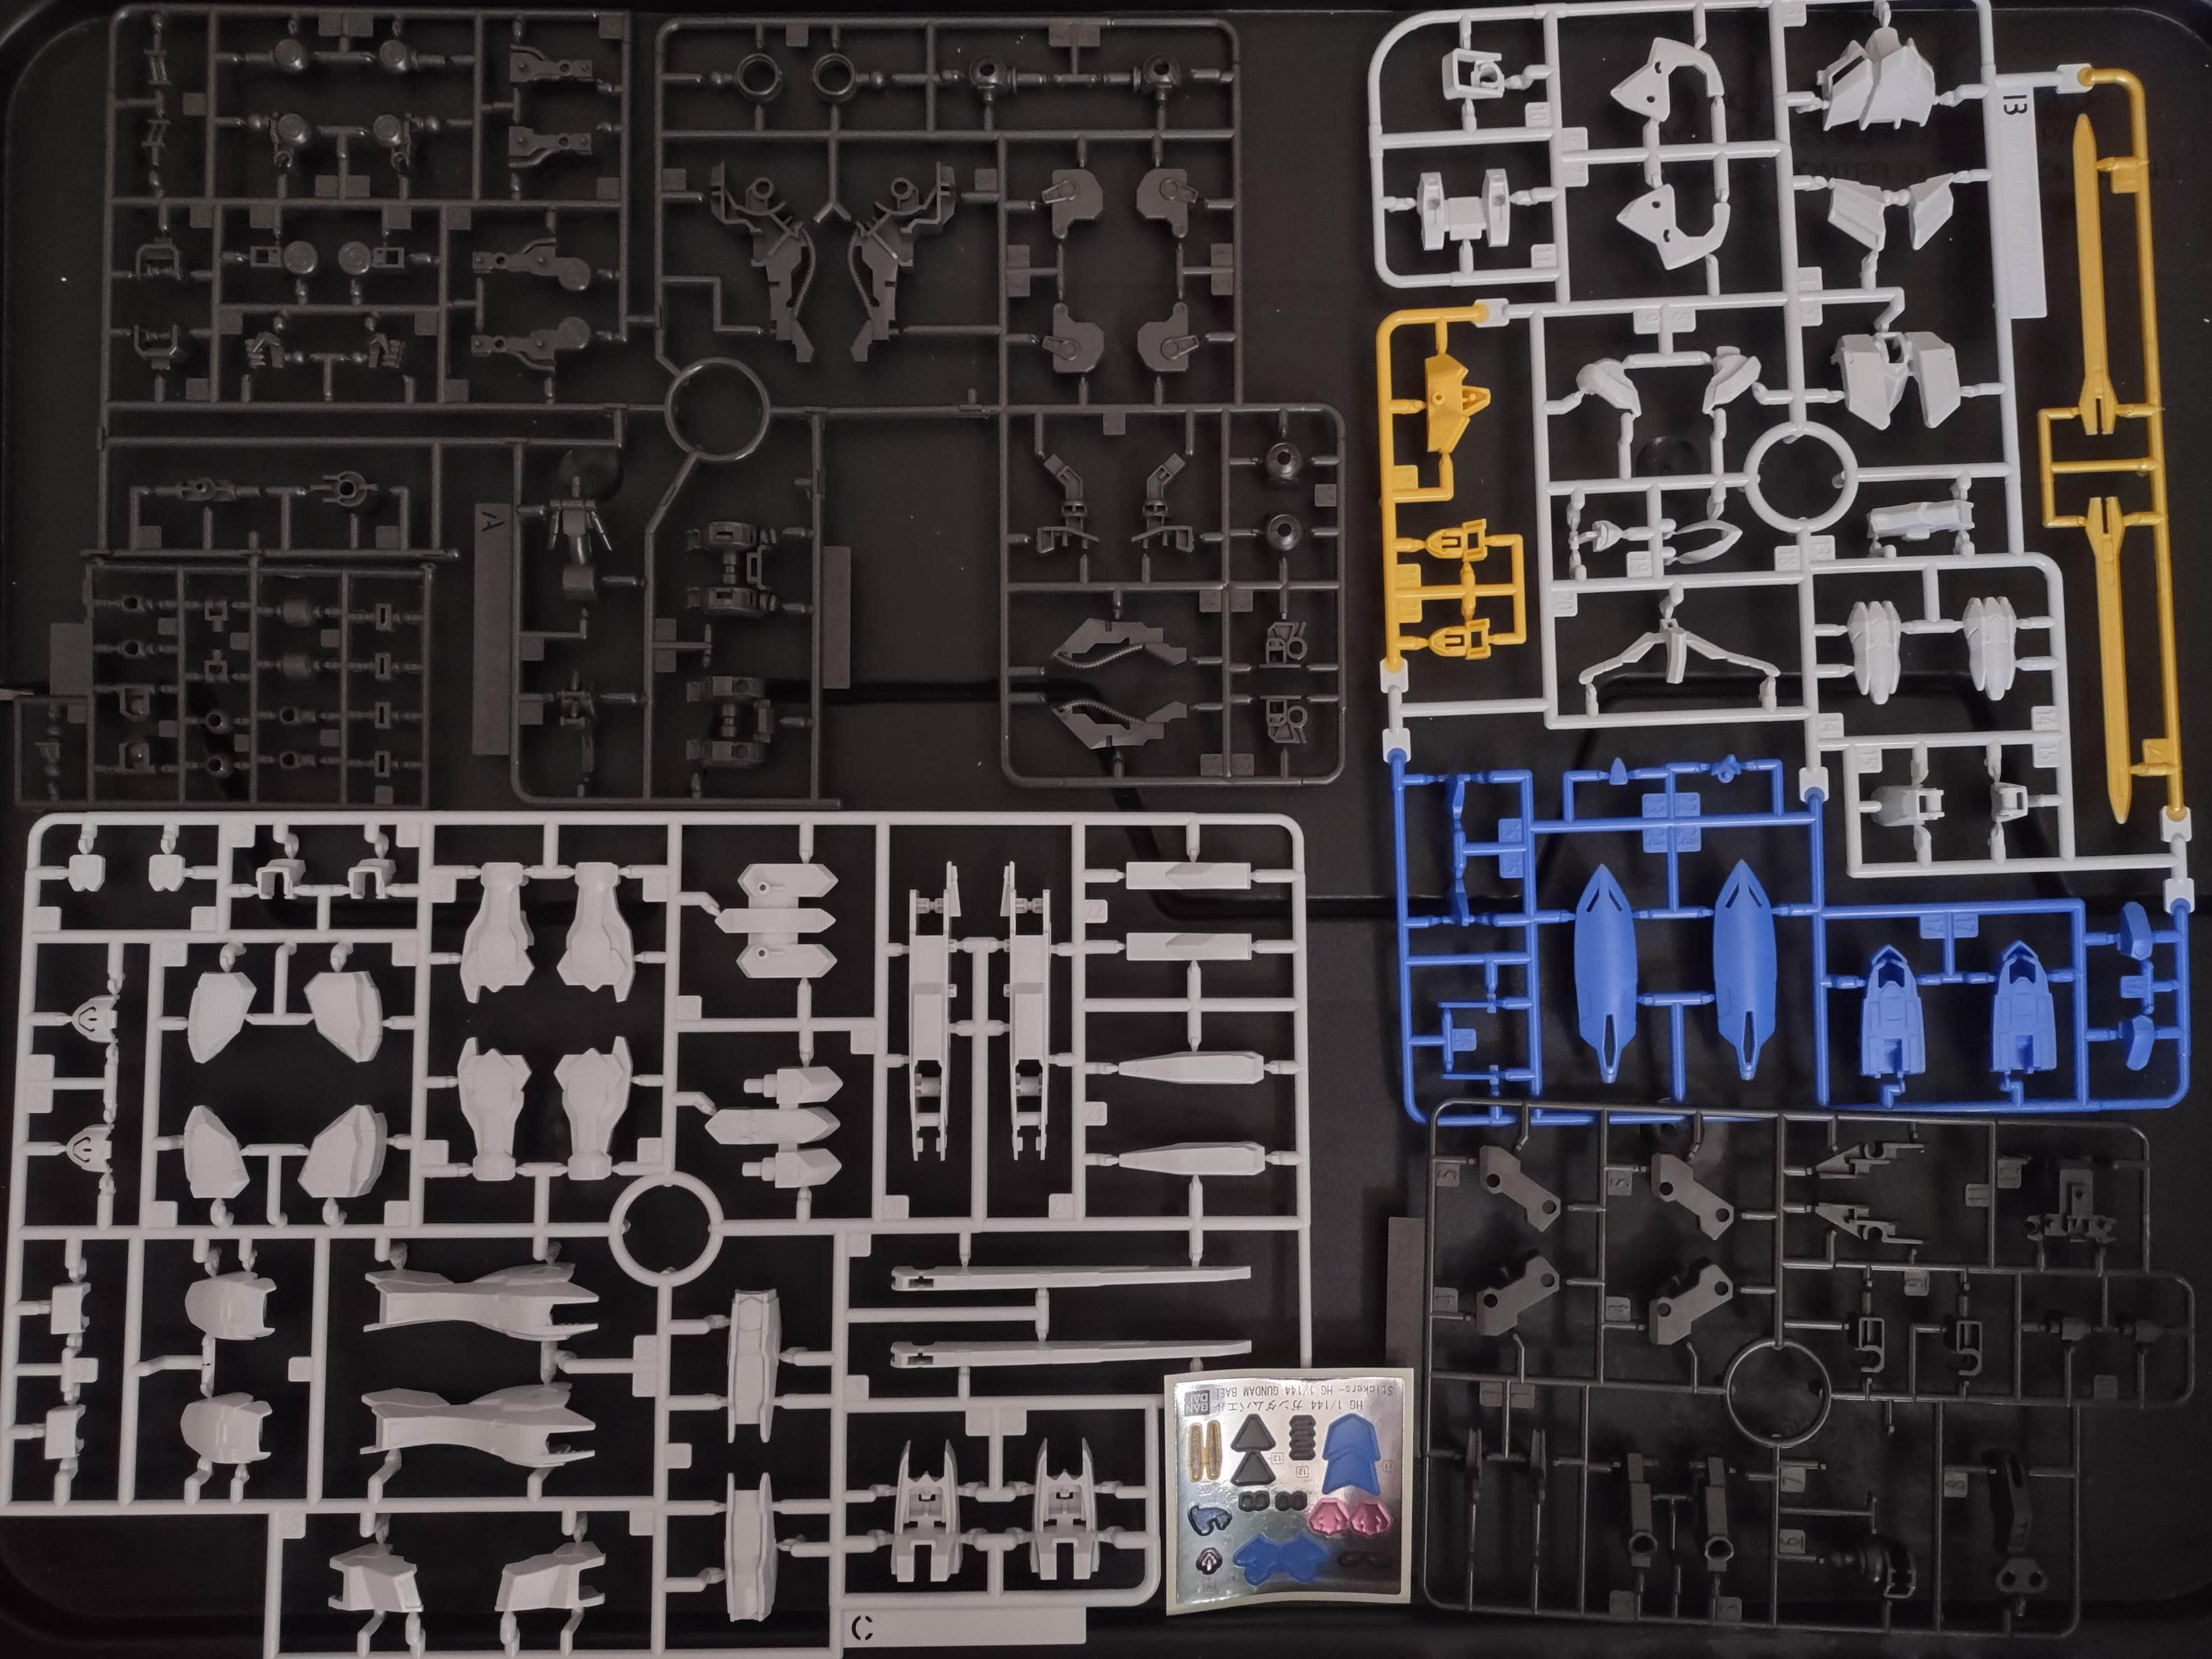
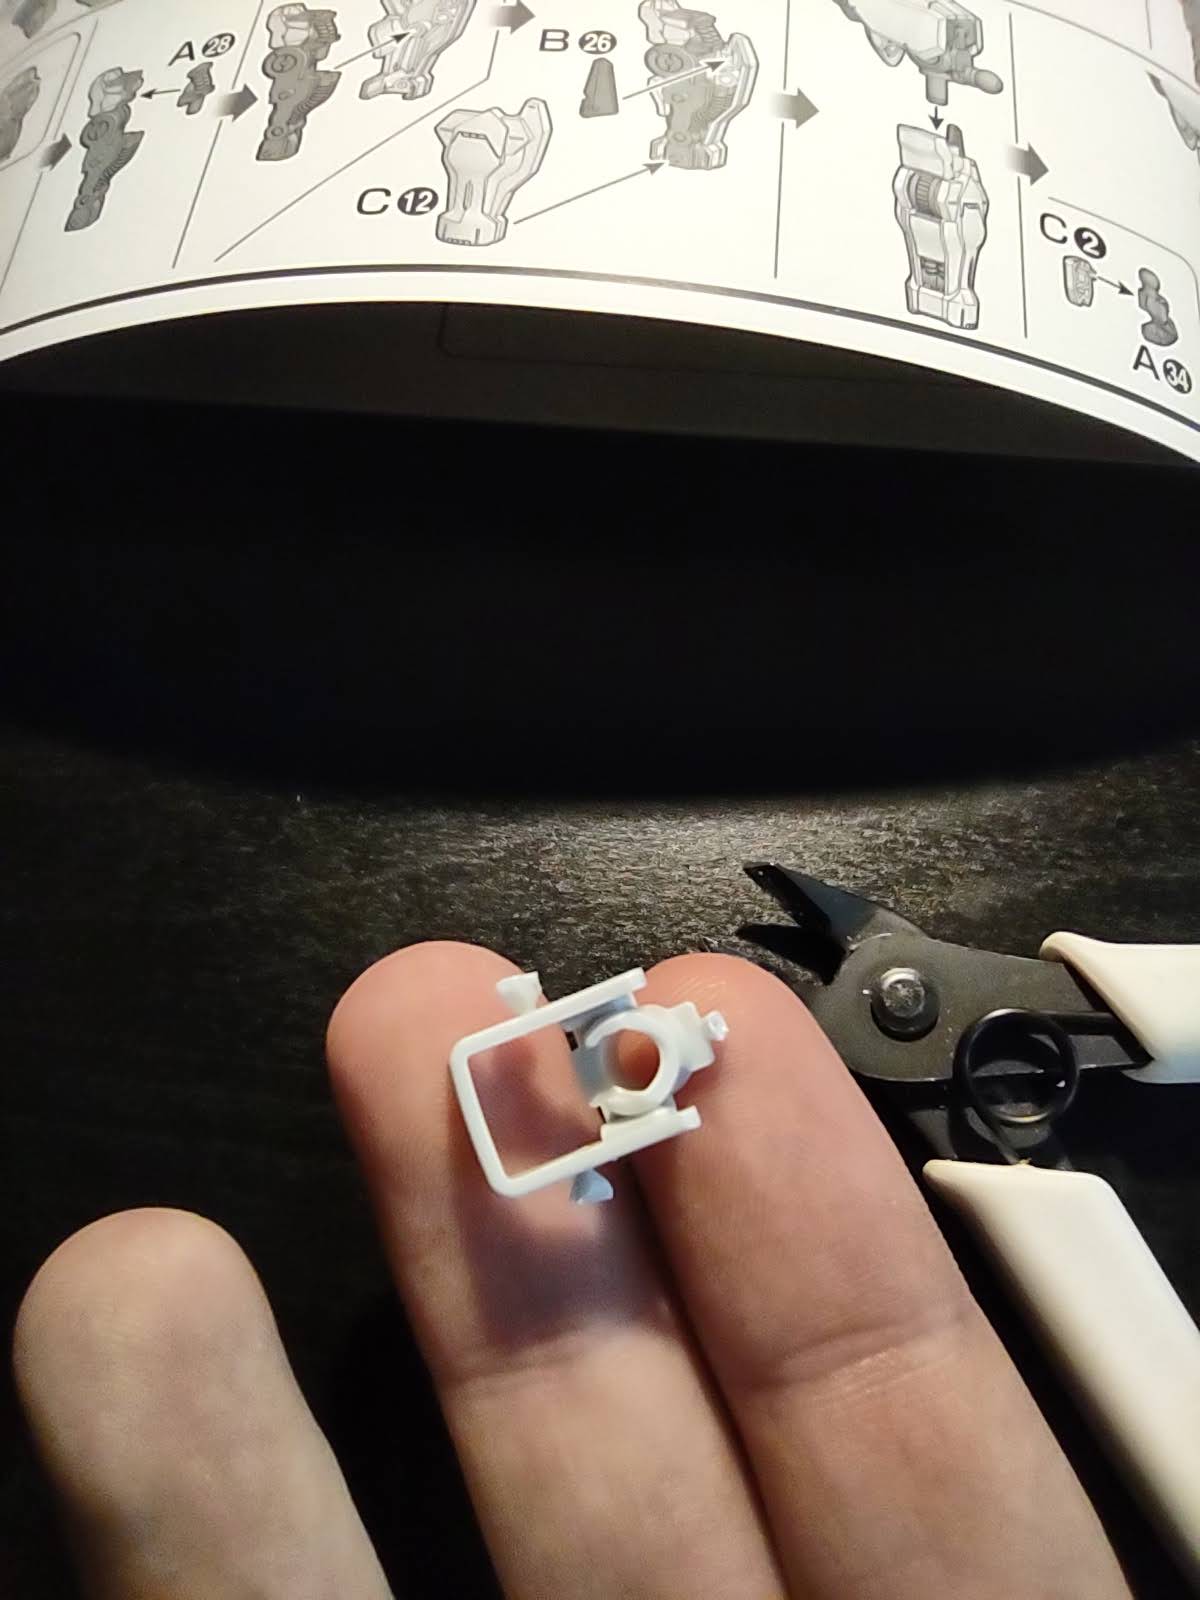
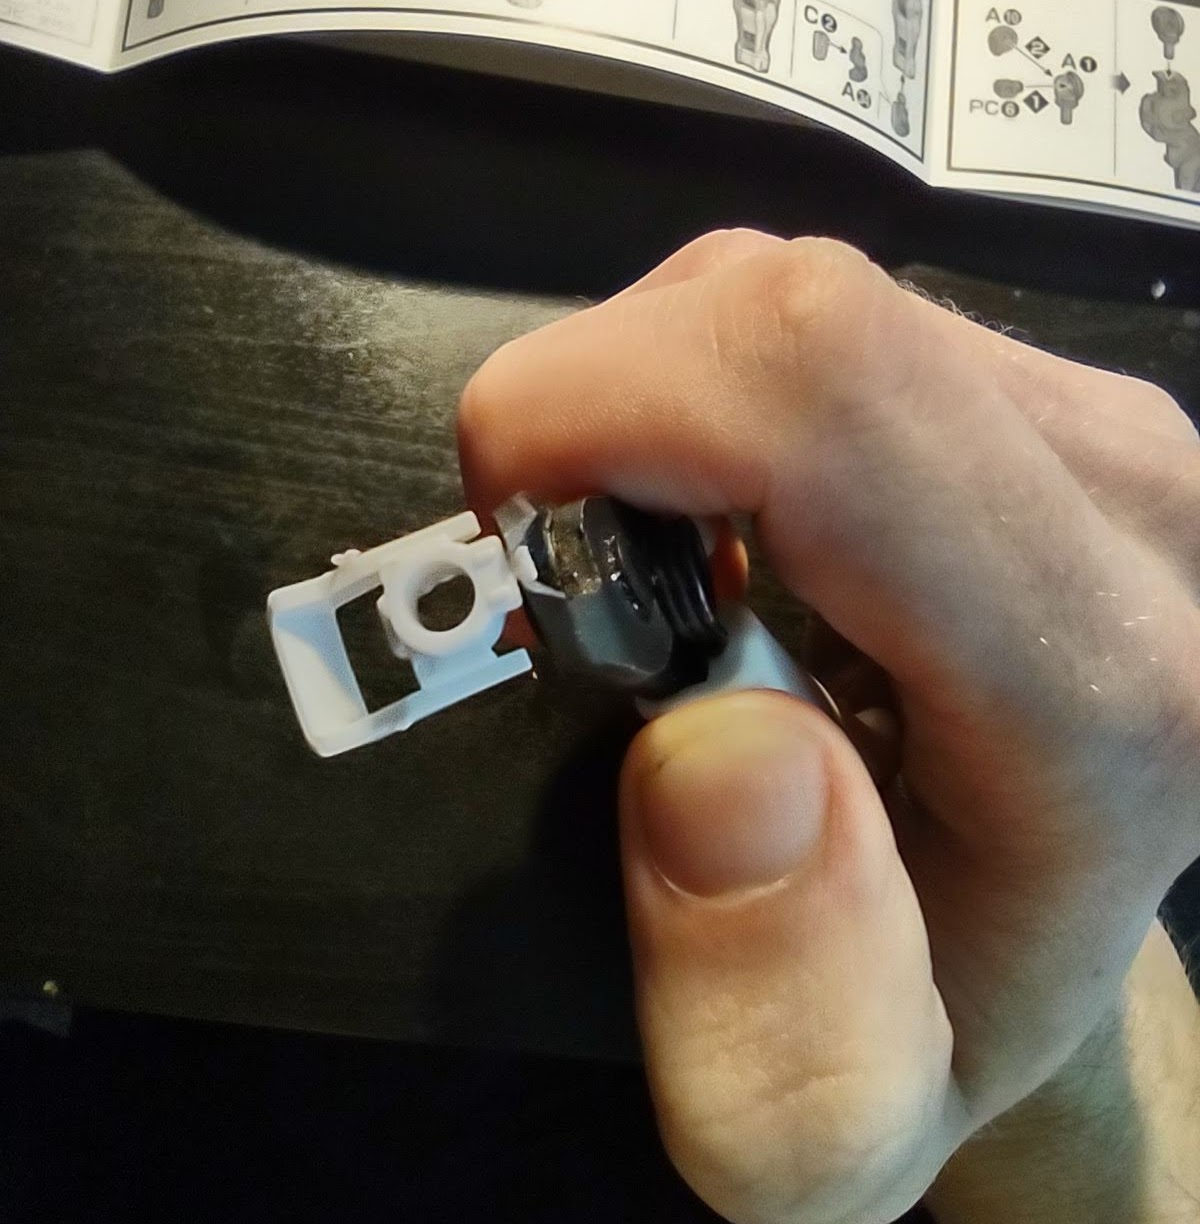
Now that you have everything you need, all you really have to do is follow the instruction manual in the box. The parts of the model come on sheets called runners and each runner’s parts are numbered, so part B14 is part number 14 on the B runner. Cut out all the parts for a step, clean up those parts, put them together, then move on to the next step. When cutting out the parts off the runners, I recommend using the two-snip technique. For the first snip, cut the part a couple millimeters back from the gate (the connection between the part and the runner).
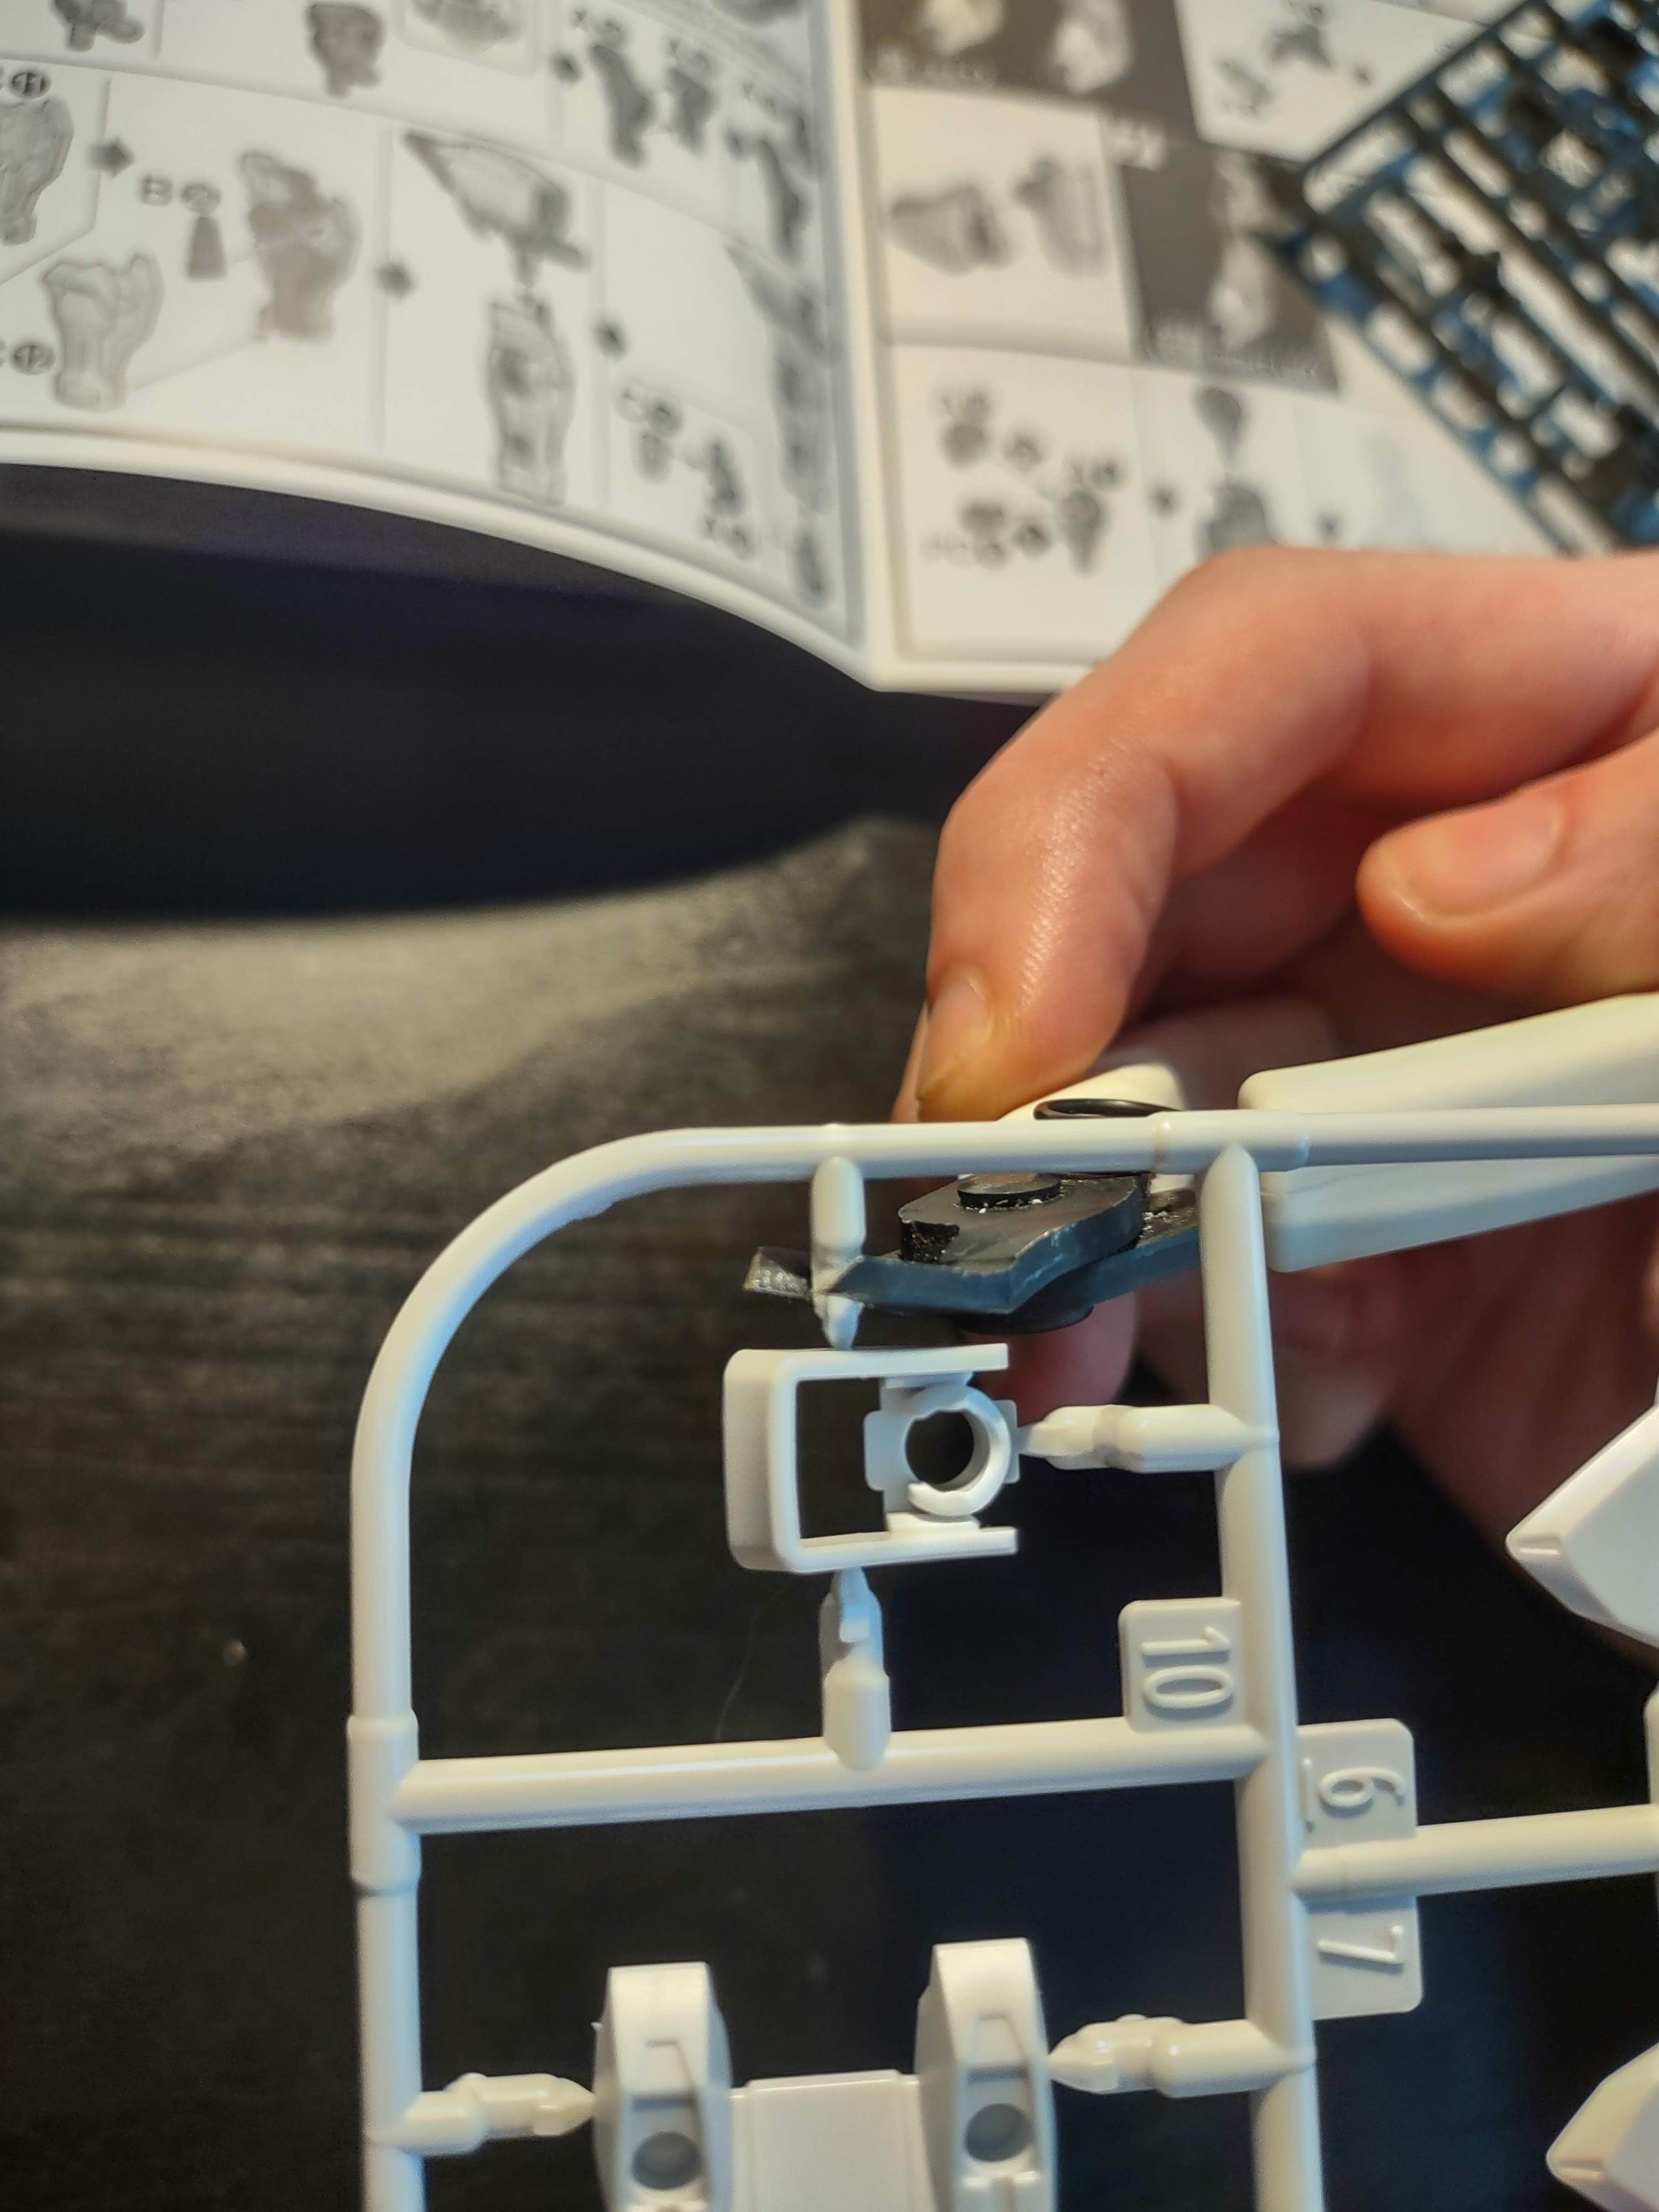
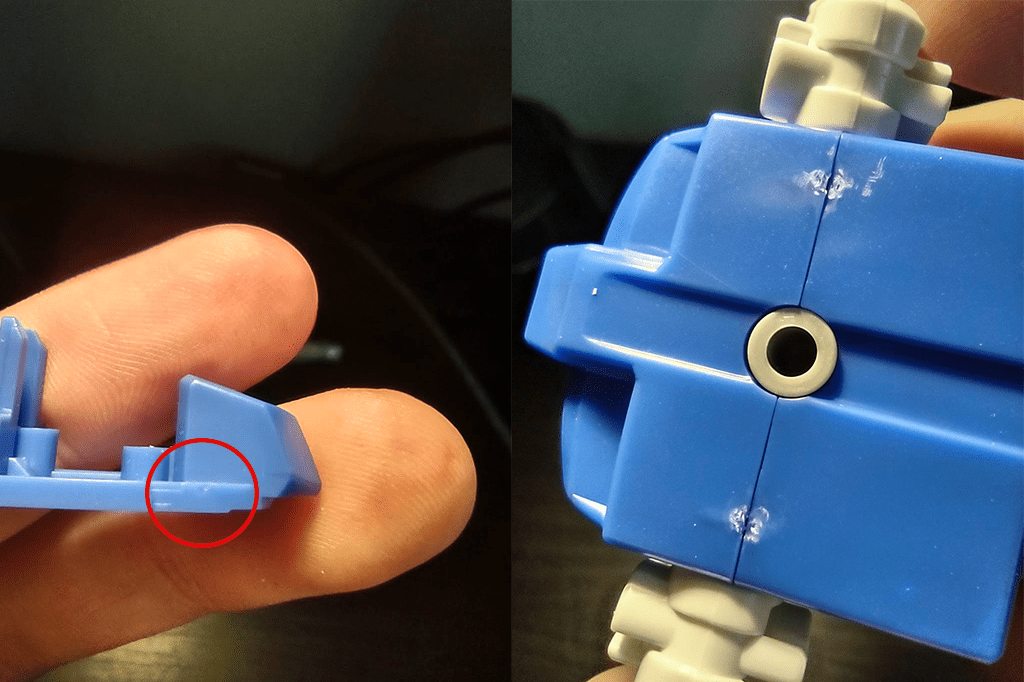
On the second snip, cut the gate off very close to the part while still leaving a little bit left, then take care of the excess plastic during the cleanup step. This technique reduces the amount of stress marks on the plastic, leading to fewer nub marks and a cleaner looking finished model.
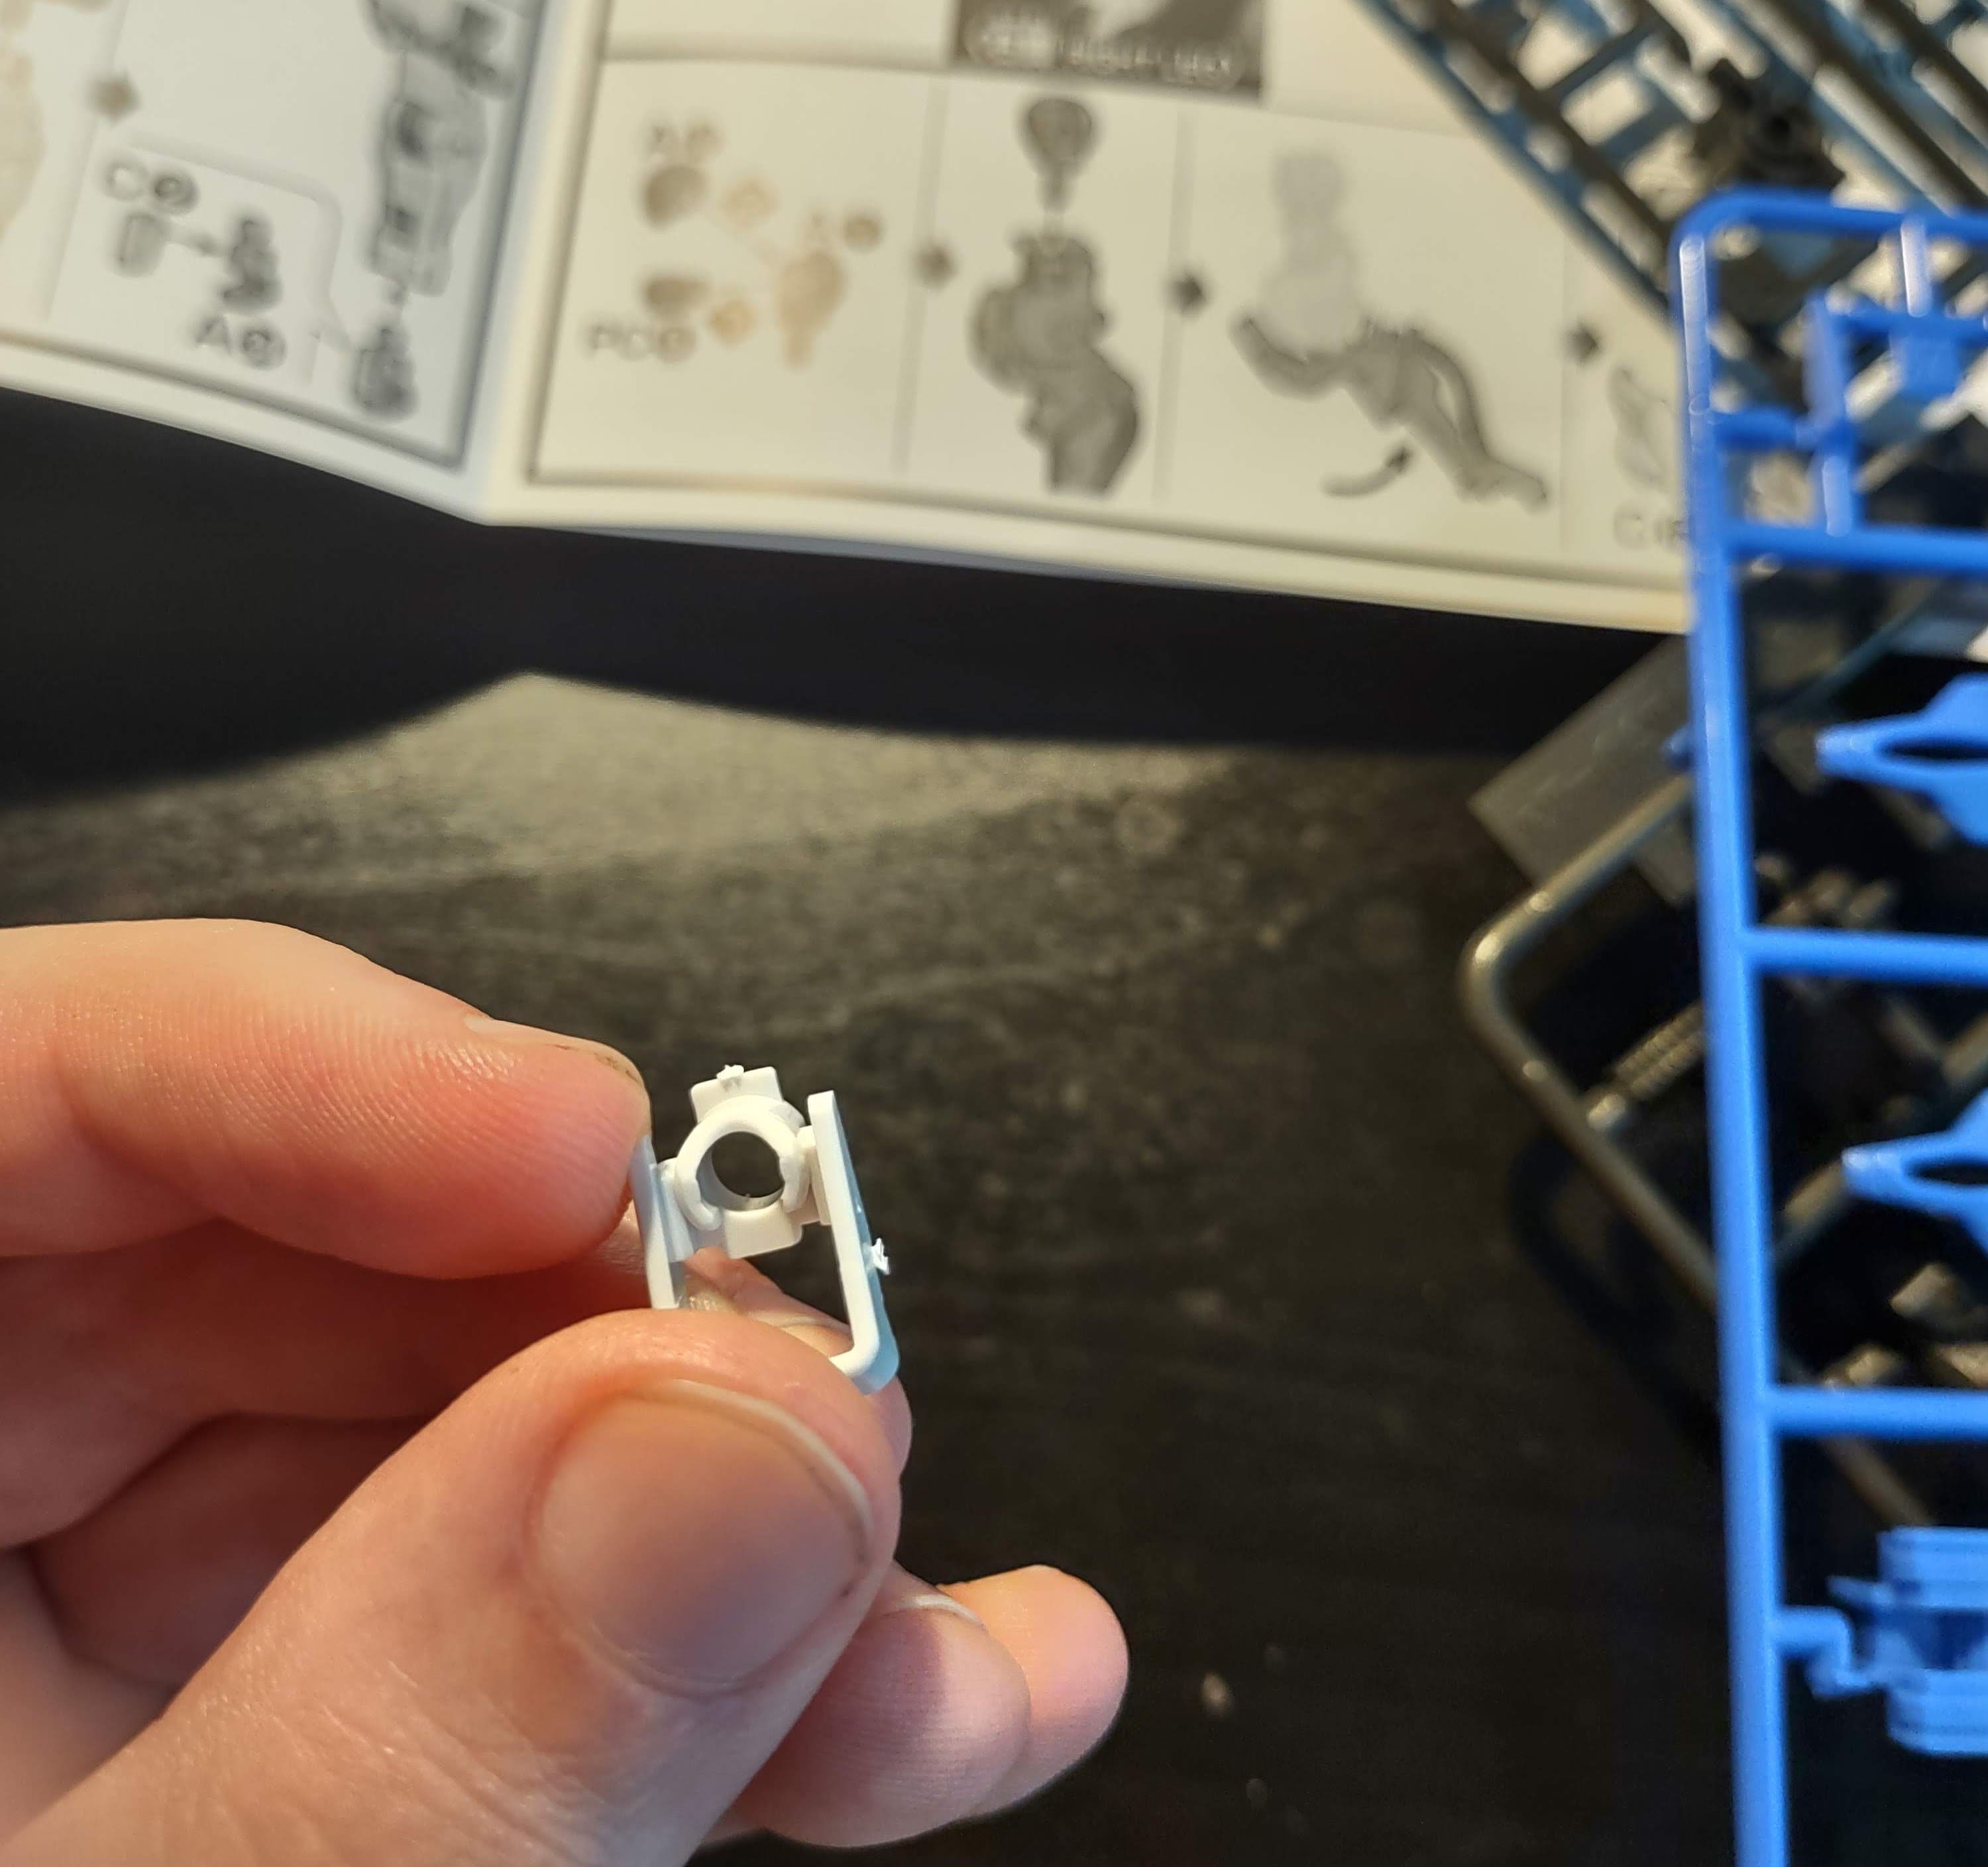
If you don’t care much about nub marks on your kit or want to save some time, you can just cut the parts off with one snip and be done with it.
Cleaning Parts Up
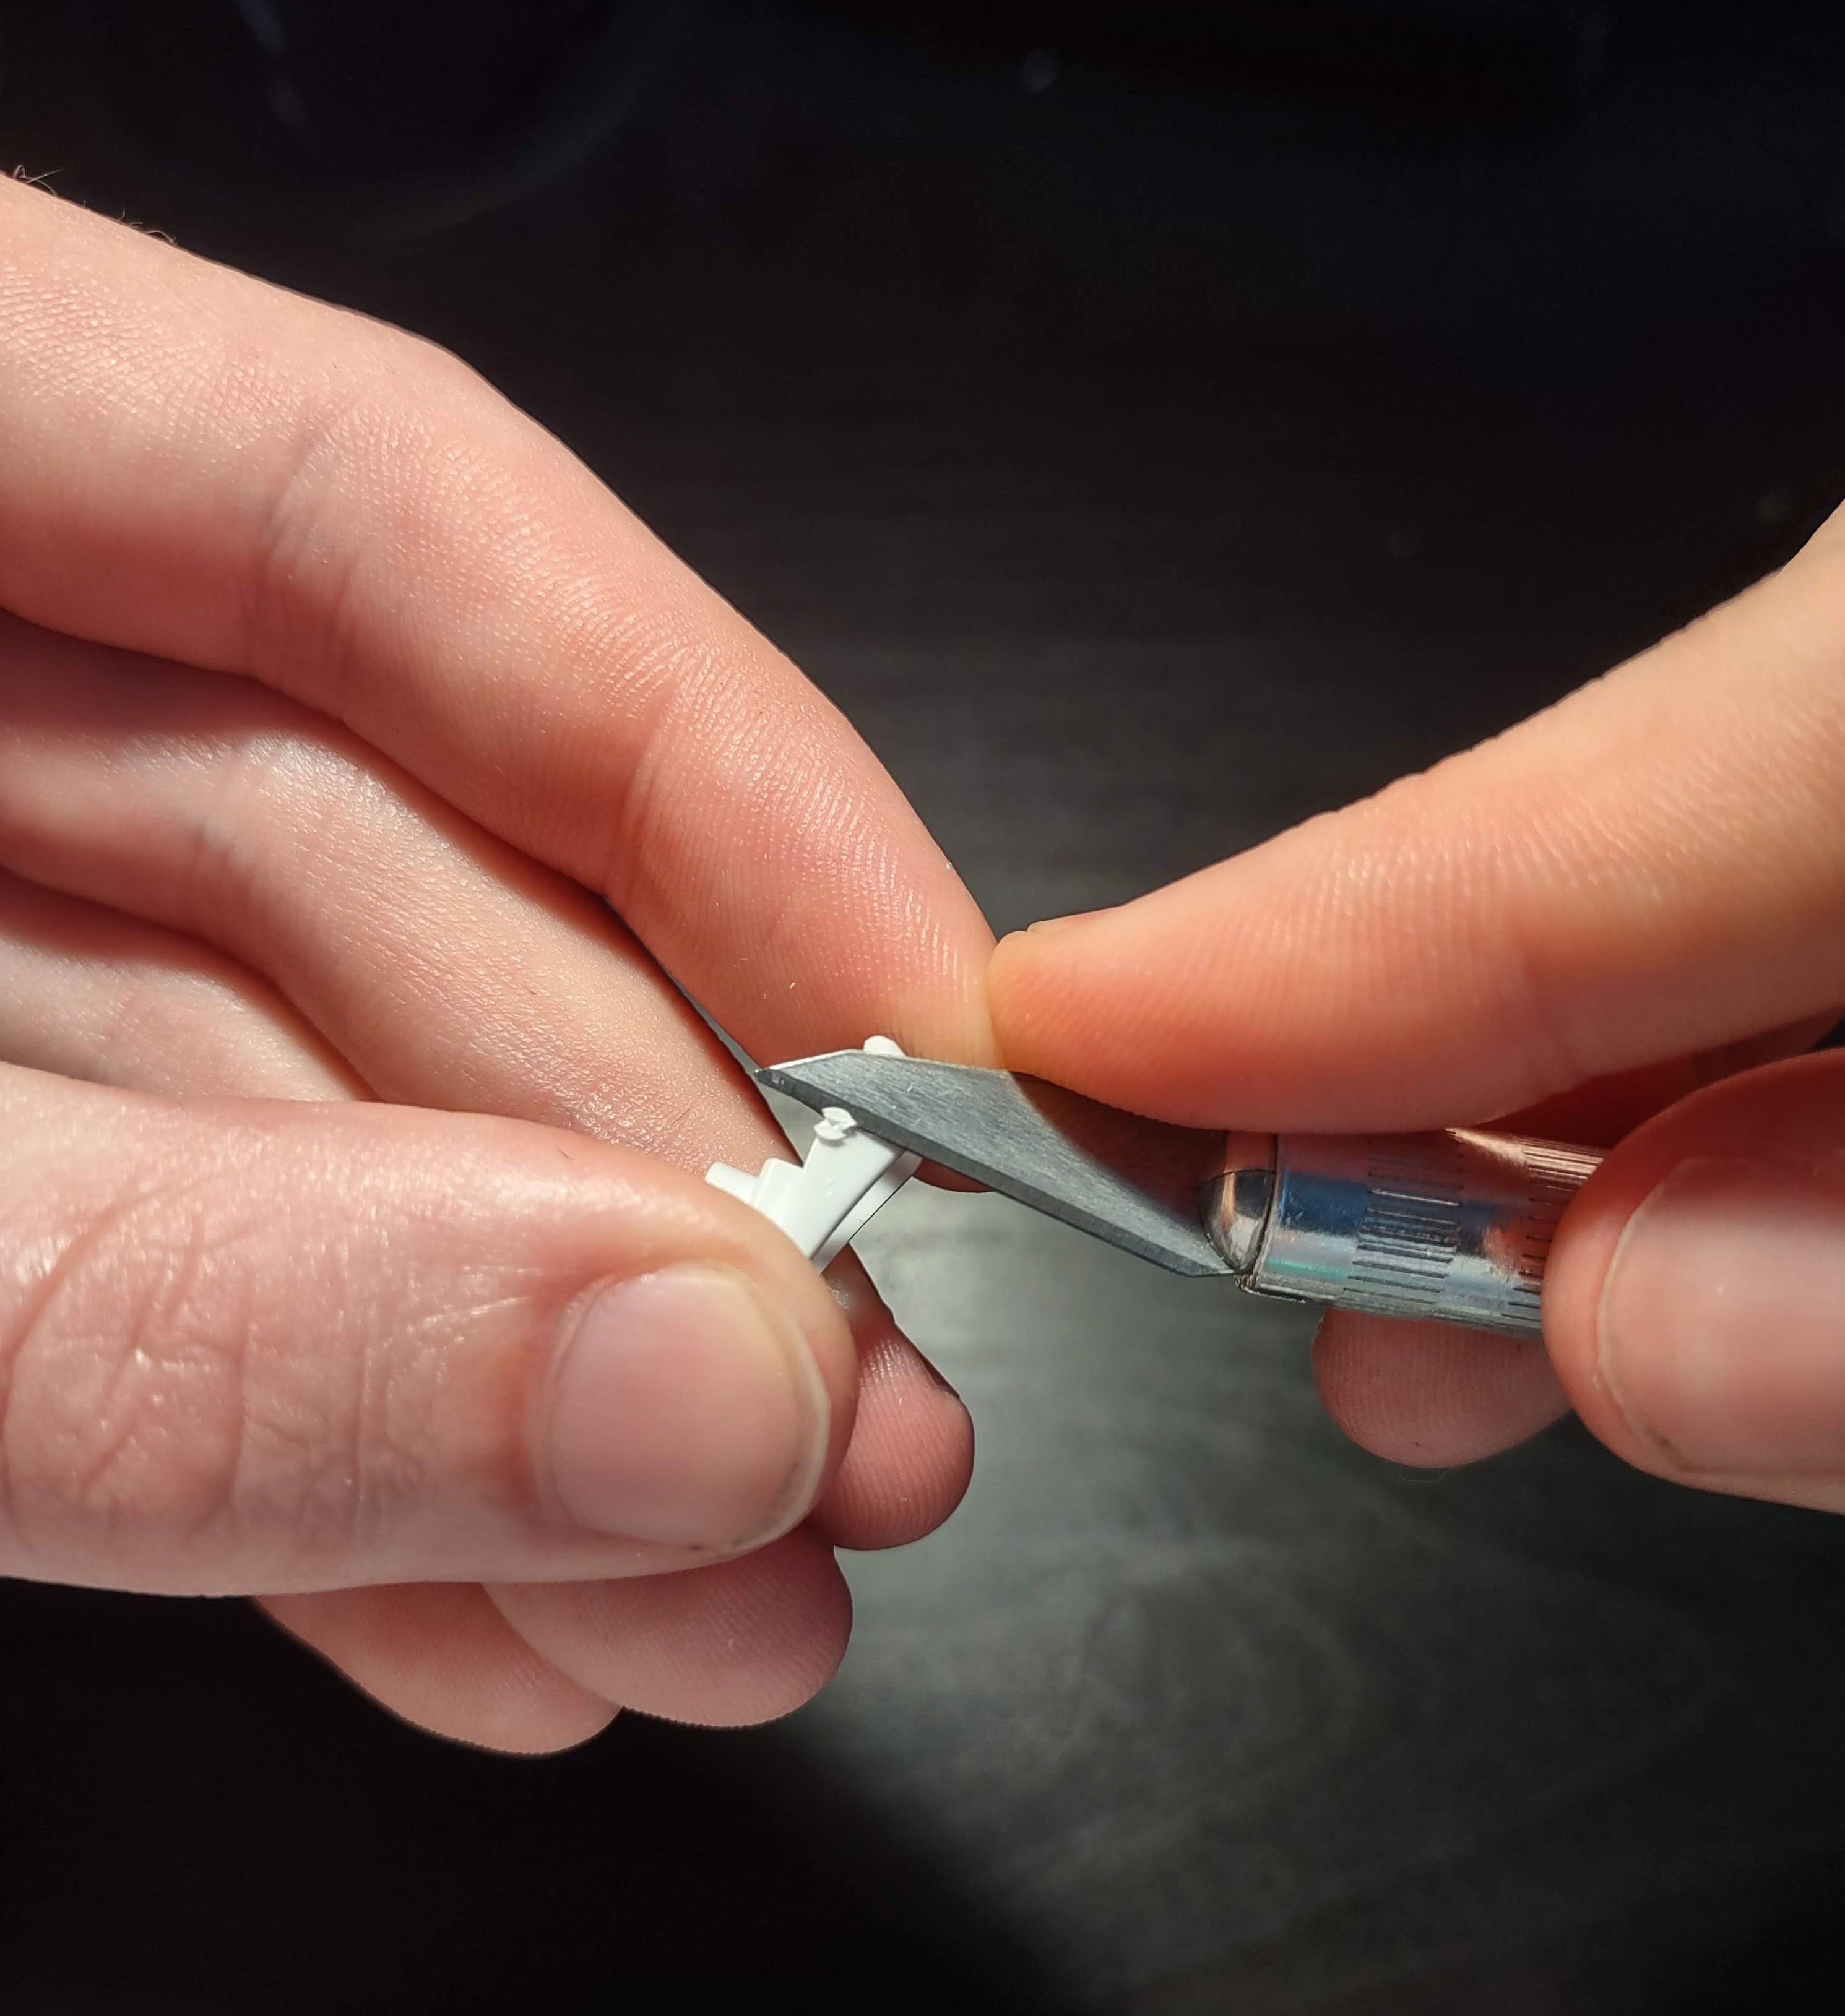
The amount of cleanup you do will depend on how you cut the parts off the runner and how clean you want the finished product to look. If you cut the part off with the two-snip technique, then the next step is to cut away the excess plastic with your hobby knife. Try to use small, controlled cuts to avoid taking off too much plastic.
After cleaning off the excess plastic (or if you only used one snip), you can sand the nub marks down to make them less visible. Start sanding with a low grit, then progressively move to higher grits until the part is smooth. You can also take this time to sand down any mold lines that appear on larger parts.
With your parts cleaned up, you can snap them together and repeat these steps for each step in the instructions until you’re all done. If your kit includes a sticker sheet, put them on now and then you’ve finished building your first model!